
You’re about to embark on an exciting new smile journey with SnapCorrect. You can already feel the aligners snugly against your teeth, forming them into the grin you’ve always wanted. There’s just one thing standing in your way: the impression kit. Before you can put a single aligner in your mouth, you need to submit molds of your teeth so that SnapCorrect’s orthodontists can craft a personalized treatment plan.
If you’ve never taken teeth impressions before, it can be an intimidating prospect, and we won’t lie – sometimes it can be tricky. But it doesn’t have to be a struggle. We went through the process ourselves and made all the mistakes so you don’t have to. In this guide, you’ll find an in-depth, step-by-step guide to kicking off your SnapCorrect treatment, so you can set off on the road to a transformed smile ASAP.
Table of Contents
Things to Know Before Getting Started
Before SnapCorrect’s dentists can develop your treatment plan, they need to get a look at your teeth. This way, they can accurately evaluate your condition and design custom aligners to correct it. Using the molds you make with your impression kit, these orthodontists will create a digital model of your smile. After analyzing this mode, they can determine whether or not you are a good candidate for treatment. If so, they’ll use your impressions to assist in their development of precision aligners that fit your smile perfectly.
This is why companies have high standards when it comes to your molds. Perfect aligners begin with perfect impressions. But don’t worry, with the help of this guide, you’ll be able to nail those impressions and get started with treatment right away.
Keep in mind that some conditions, like bite issues and severe crowding or spacing, are best treated with an in-office option like Invisalign or braces. If your condition is too severe for SnapCorrect’s aligners, they will refund the cost of your impression kit.
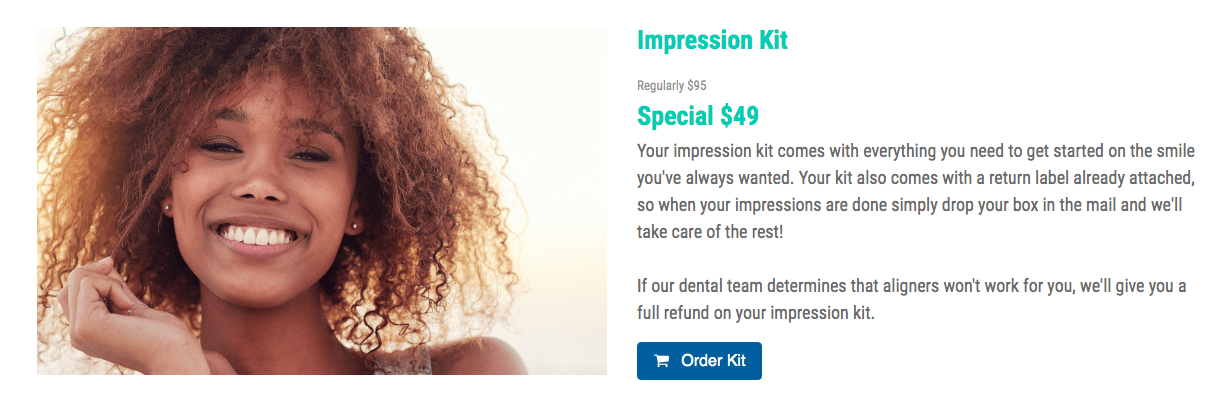
Step 1: Place Your Order
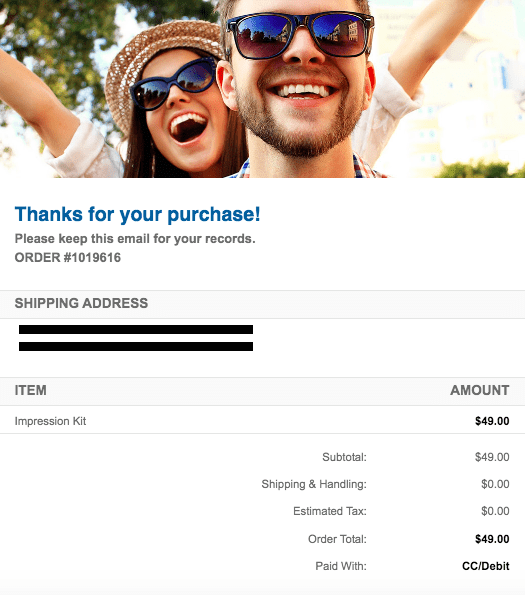
Even if you’re still unsure about SnapCorrect, you can order an Impression Kit to see if you’re a candidate and get a treatment preview. The kit costs $95 but is often on sale for $49. You’ll see that we’ve taken advantage of a sale here.
Click “Order Kit” to start the process. SnapCorrect will require you to create an account before you can proceed. Enter your name, email address, phone number, birth date, and a password.
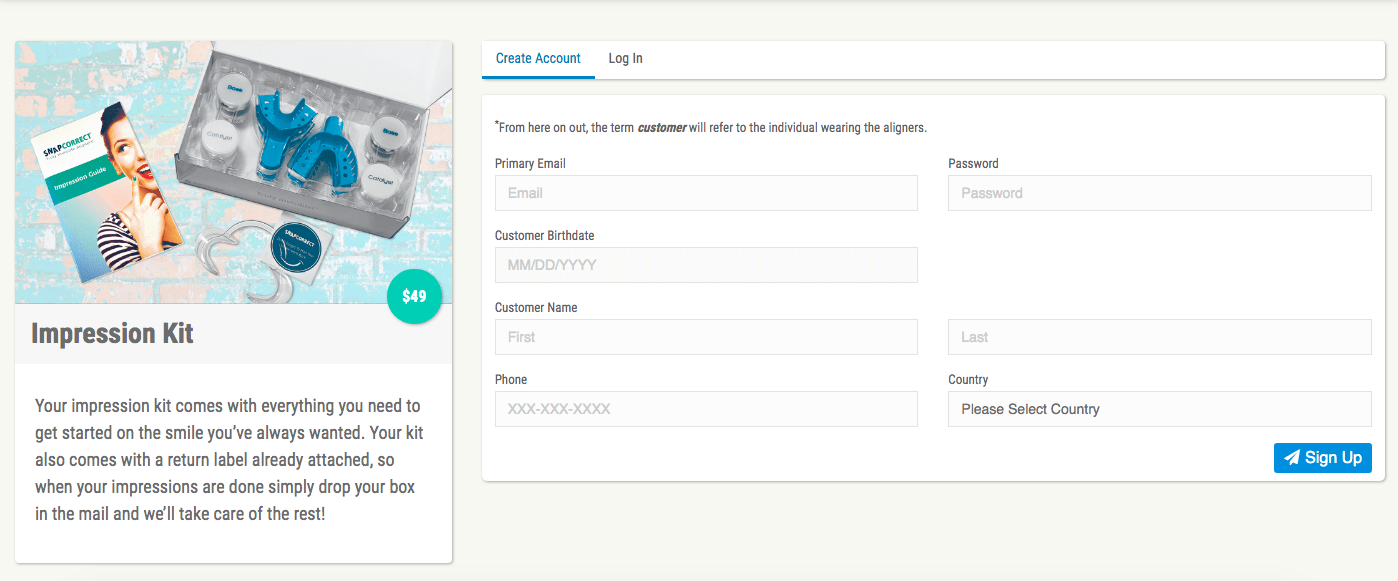
Click “Sign Up” – your account will be created and you’ll be directed to the next page, which requests your shipping info.
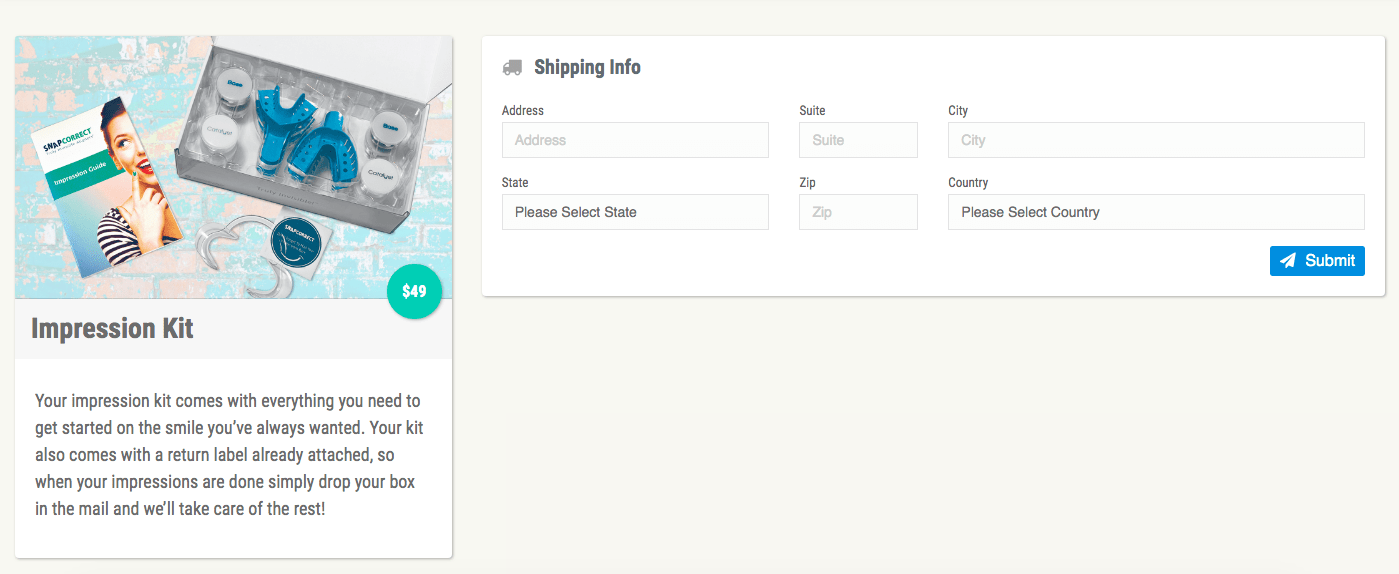
Enter your address and click “Submit.” The next page has multiple parts: an order confirmation, billing address, order details, and credit/debit card information.
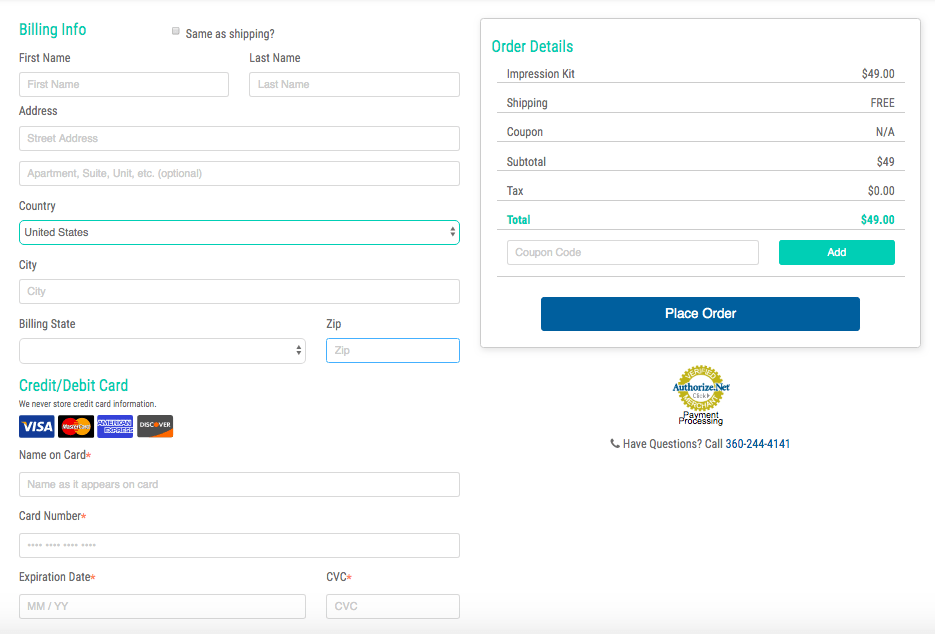
Confirm your shipping and contact info, then click “Place Order.” SnapCorrect will process your order and send a confirmation email.
Before they ship your kit, SnapCorrect requires you to provide your medical/dental information and sign their Consent to Treat form. Don’t worry, it’s relatively painless. It just asks for your recent dental work and any pre-existing conditions.
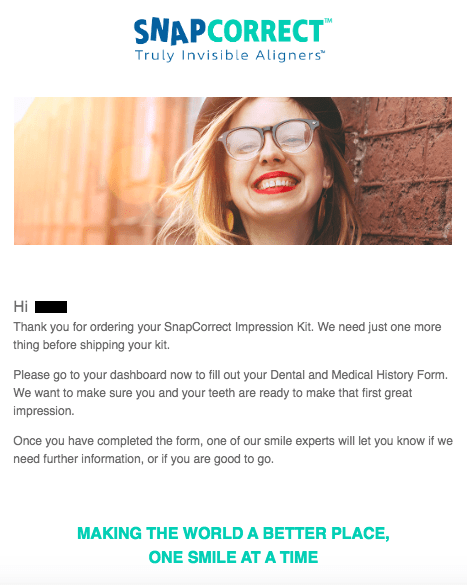
Submitting your Consent to Treat form doesn’t commit you to SnapCorrect’s full treatment. They simply need it to gather information on your recent dental checkups and dental history. After you answer several questions and digitally sign the form, SnapCorrect will ship your kit and send you a confirmation email.
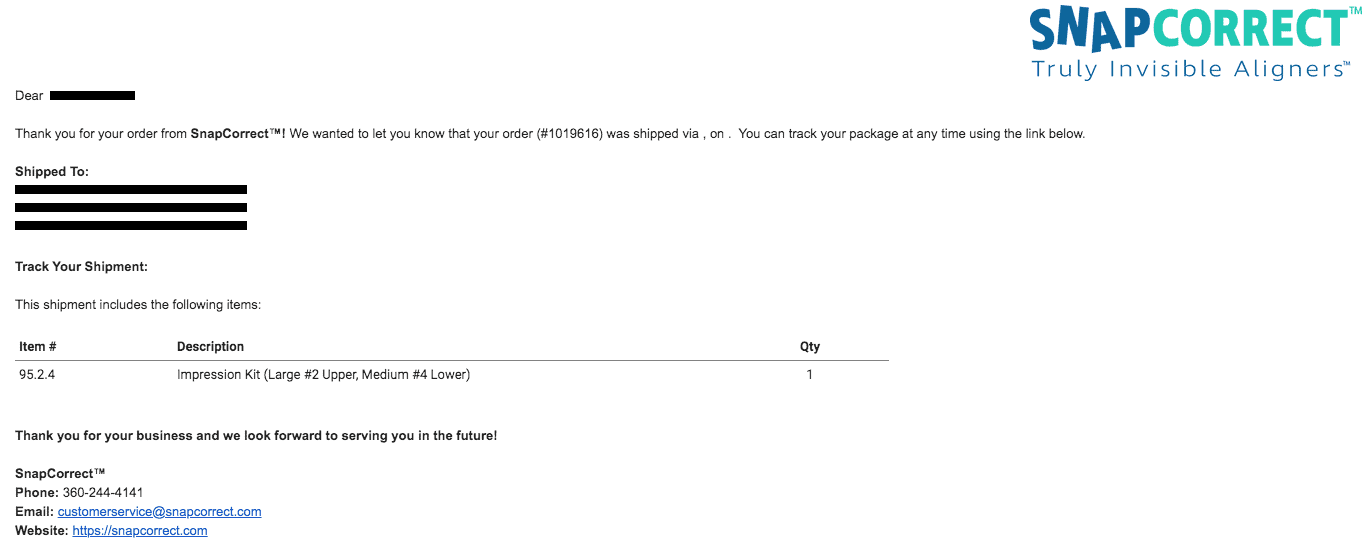
SnapCorrect’s 2-day shipping promise is pretty accurate, so you should find the Impression Kit on your doorstep in a matter of days.
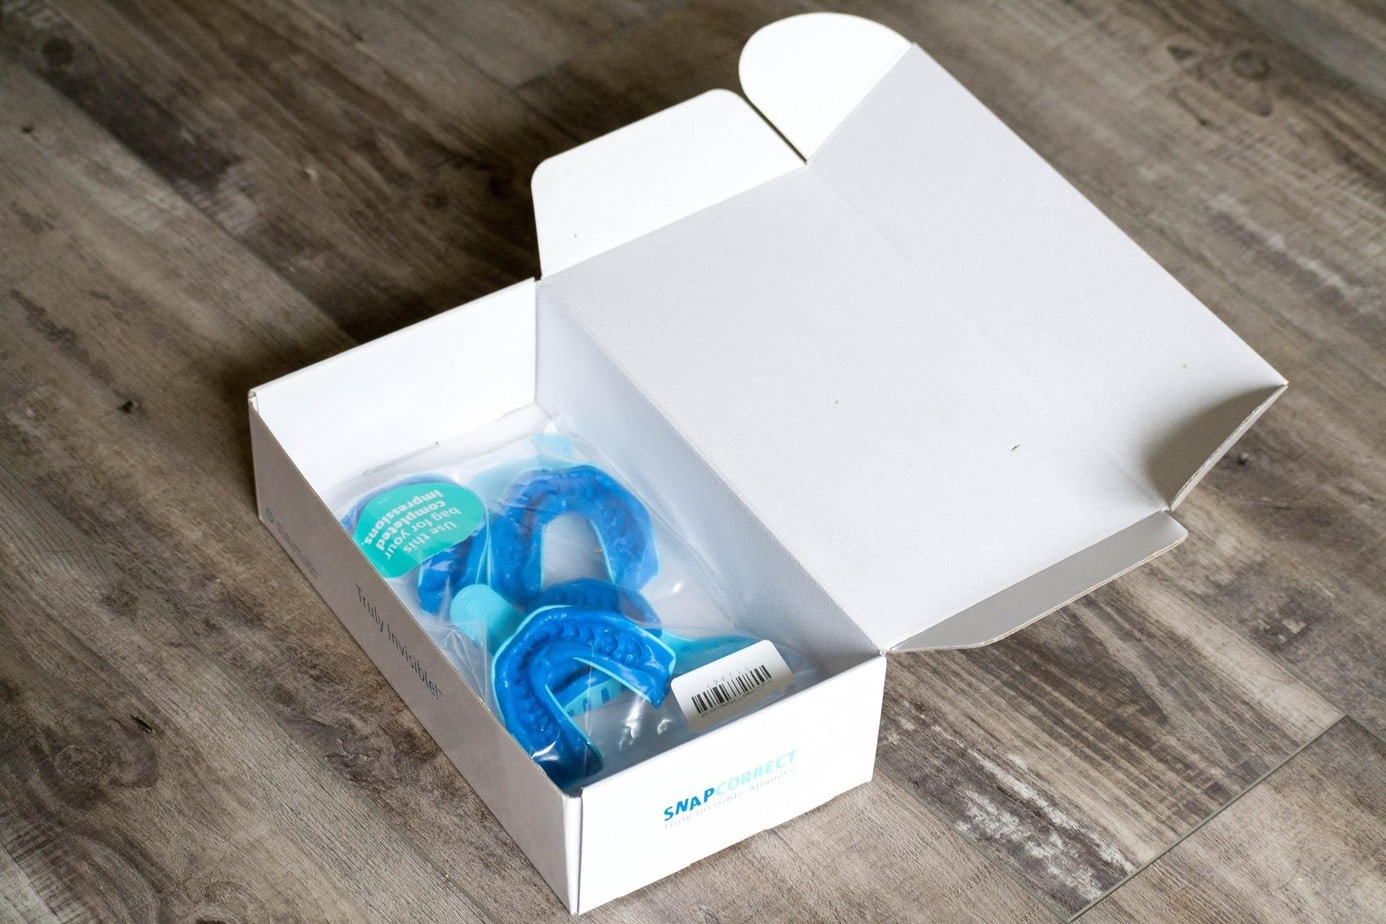
Step 2: Unbox Your Impression Kit
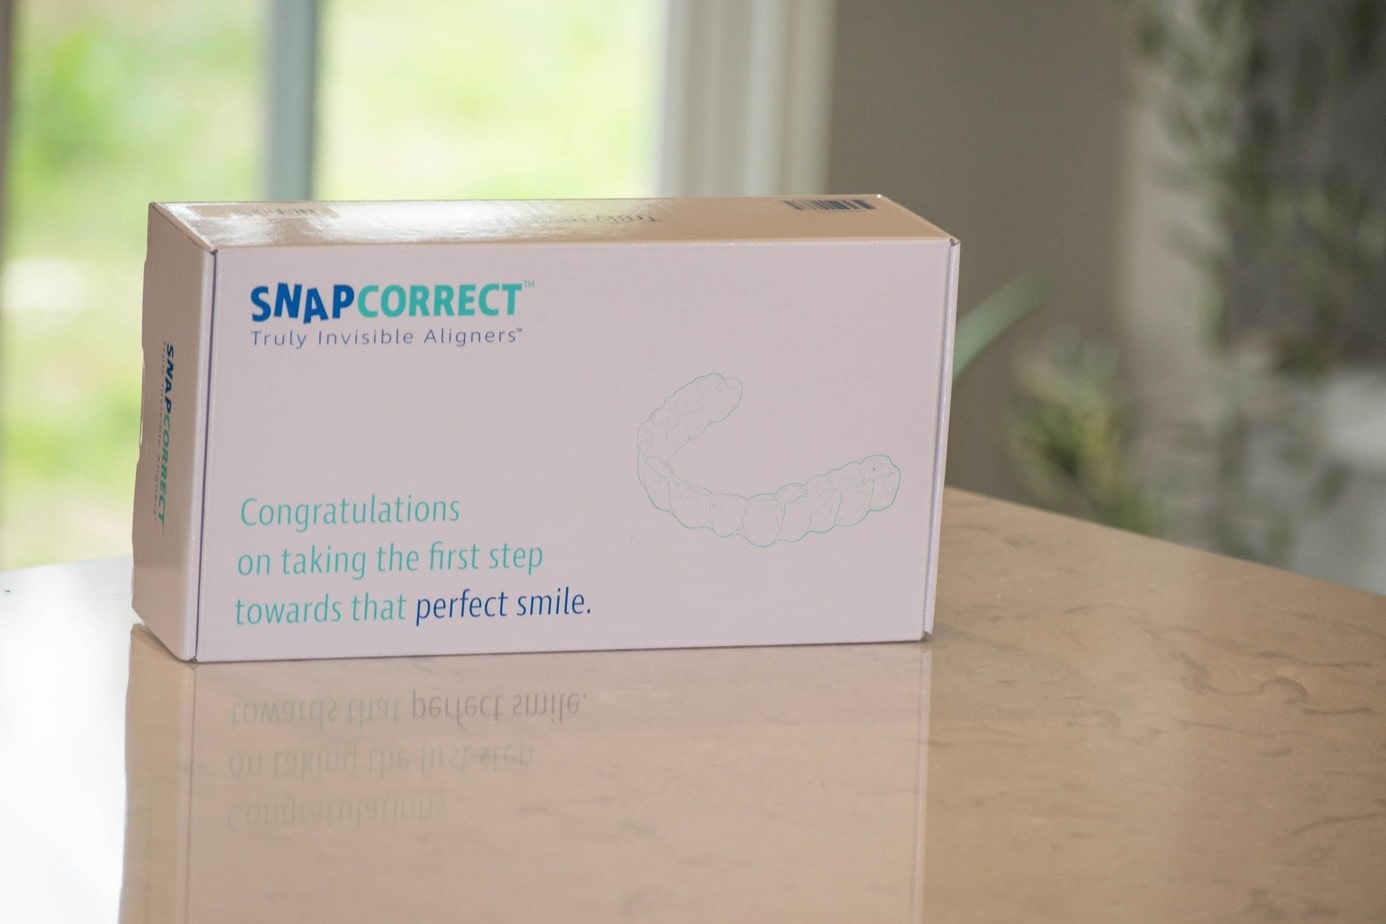
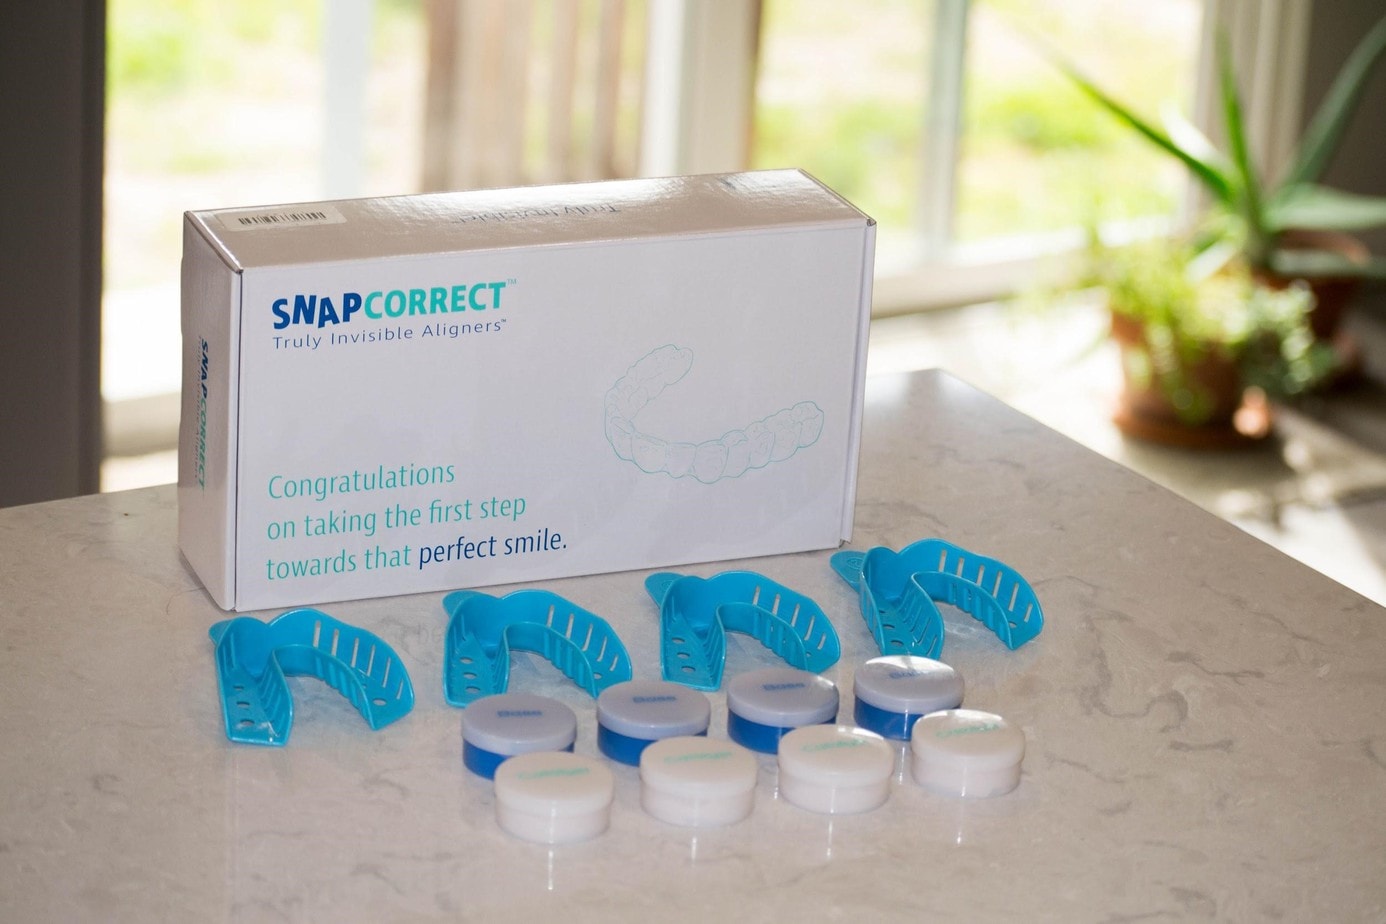
When that package shows up on your doorstep, what should you expect? SnapCorrect has thought ahead, and they provide everything you need to take amazing impressions. Open the box and here’s what you’ll find:
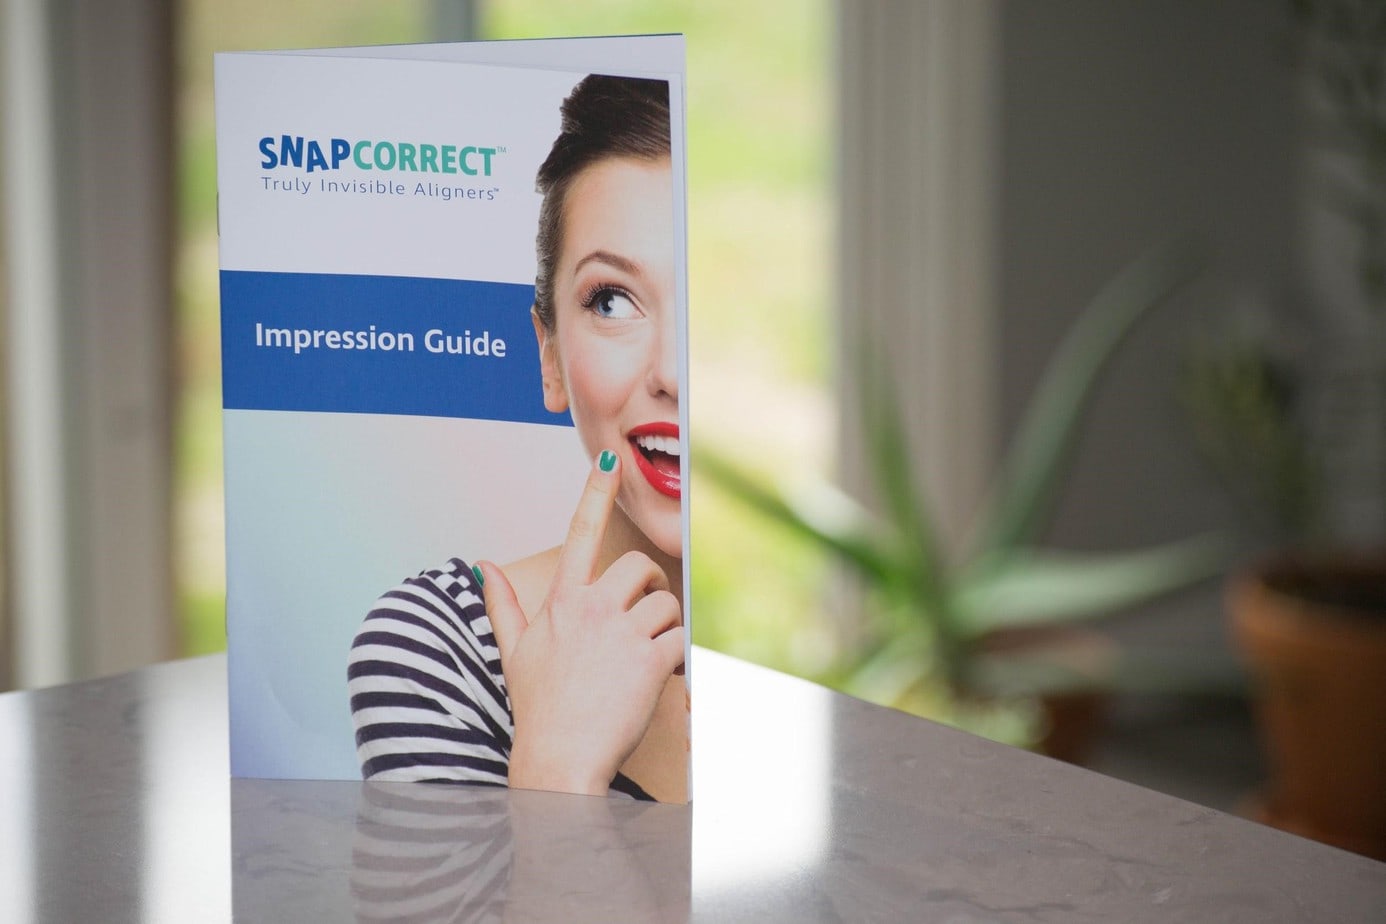
Impression Guide: This is your step-by-step manual for taking impressions, including instructions, photos, tips, and more. You’ll want to keep it close as you go through the process, referring to it as necessary.
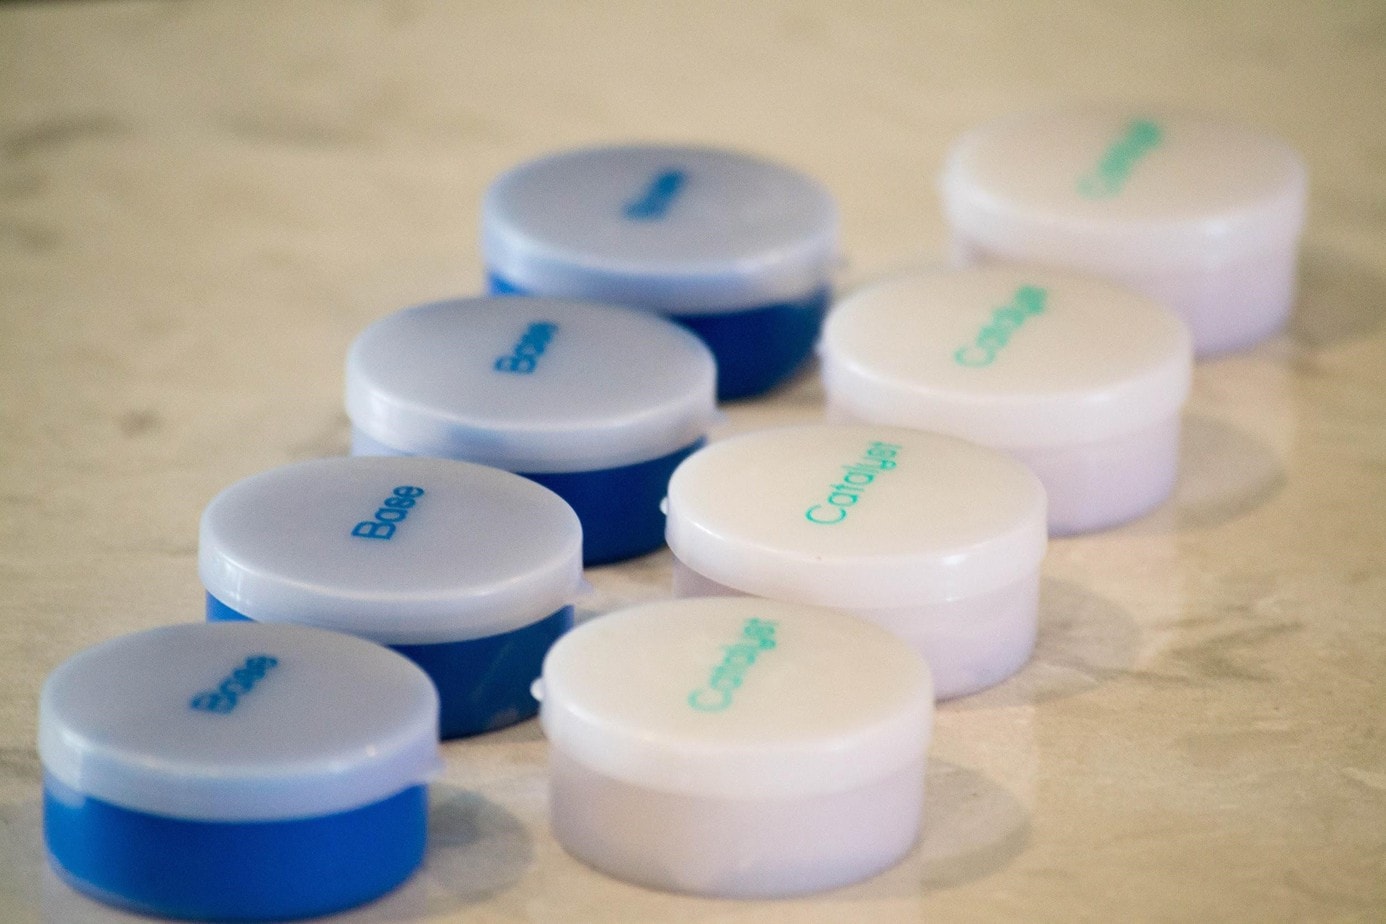
Putty Catalyst and Base: There are two different types of putty, which you’ll mix together before biting down. It will harden around your teeth, creating molds of your top and bottom arches. The kit includes enough putty for four impressions, two top and two bottom.
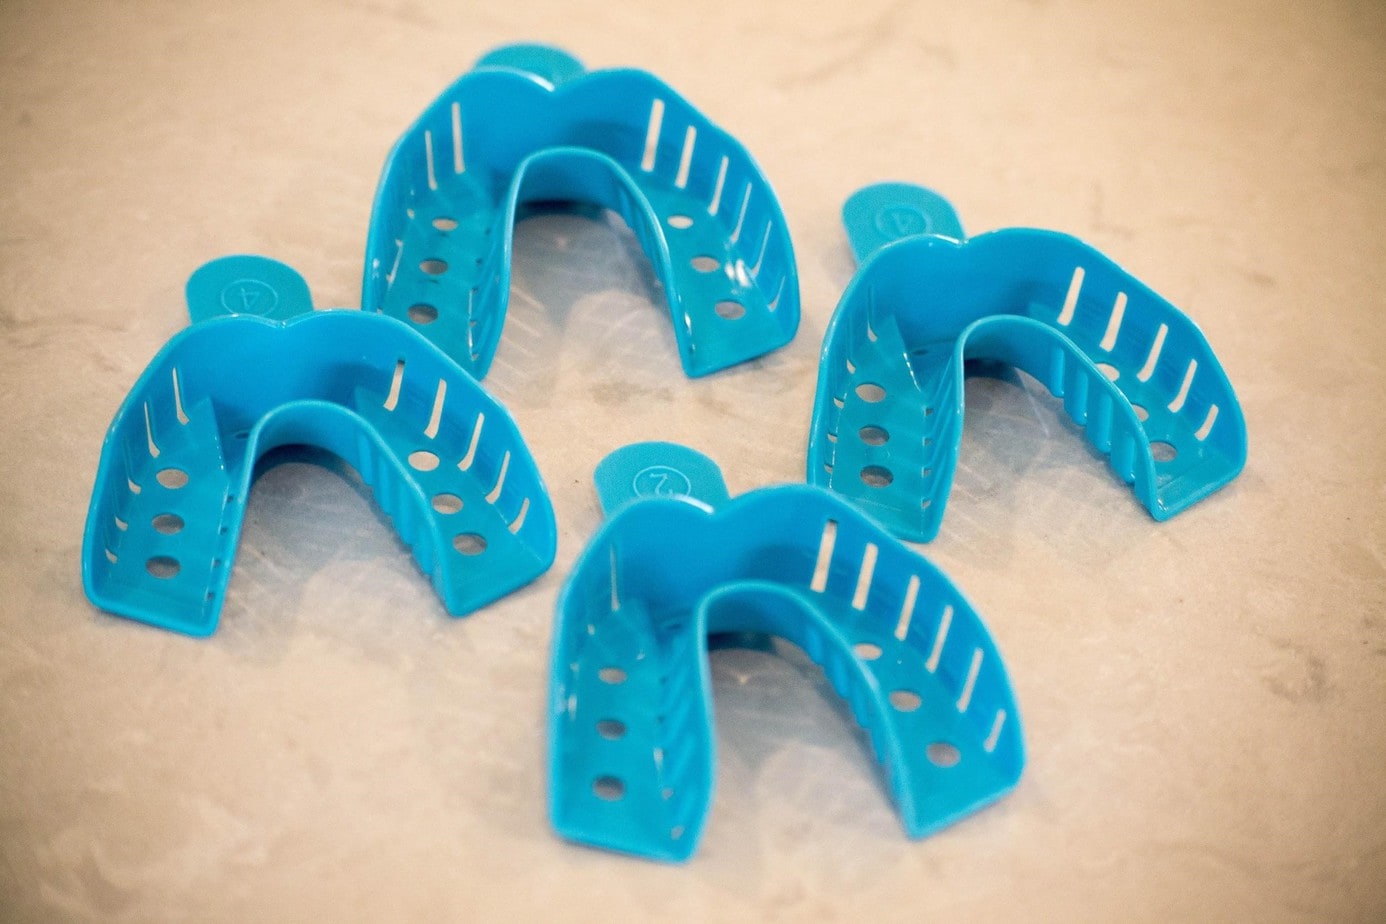
2 Top Trays and 2 Bottom Trays: These trays hold the mixed putty and fit nicely around your dental arches, acting as a guide for your impressions.
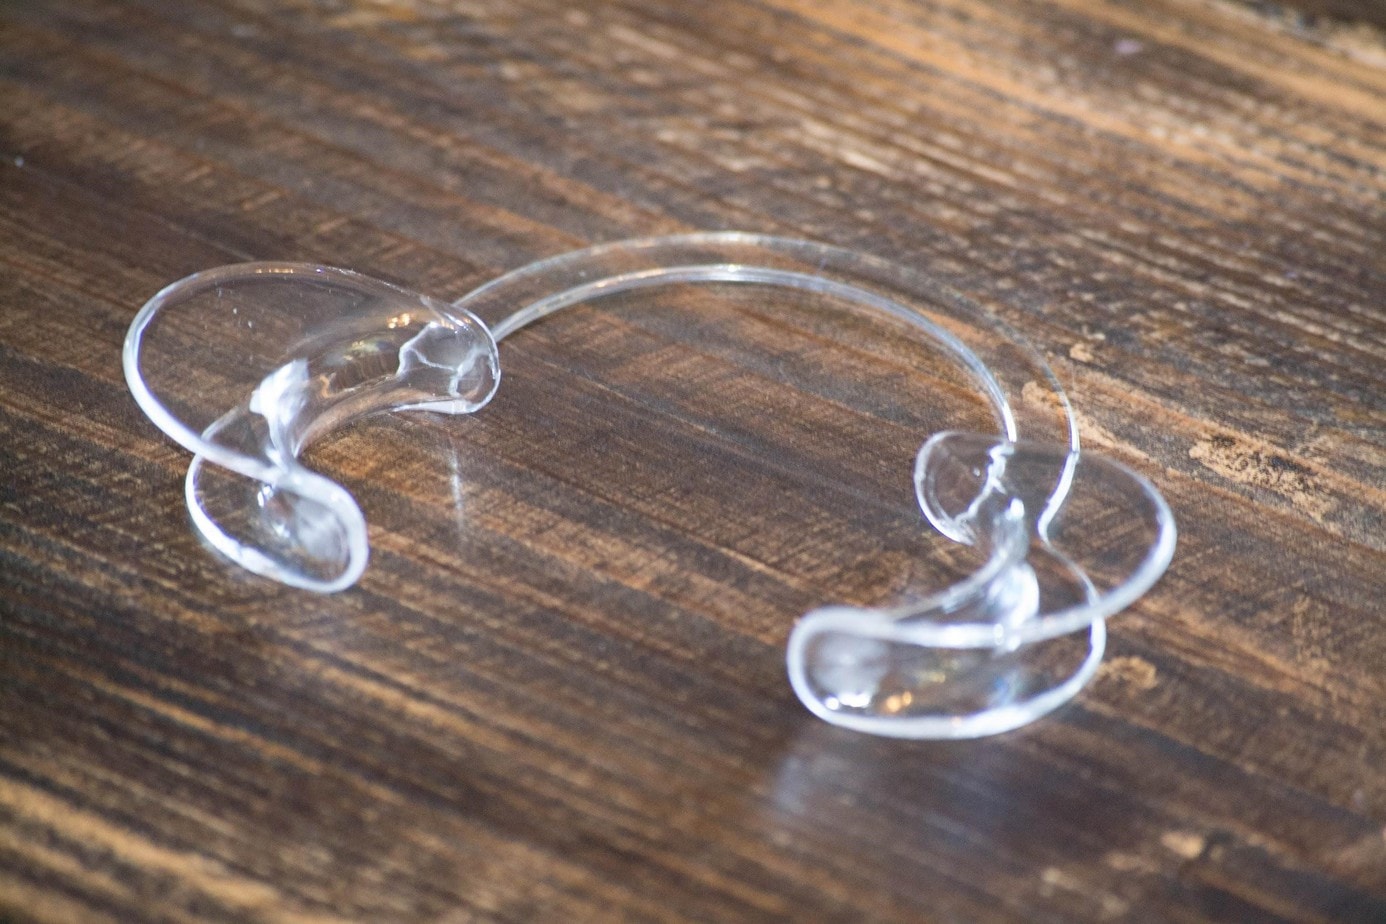
A Smile Expander: This handy plastic device pulls back your lips and cheeks so you can take clear photos of your teeth (also required for evaluation).
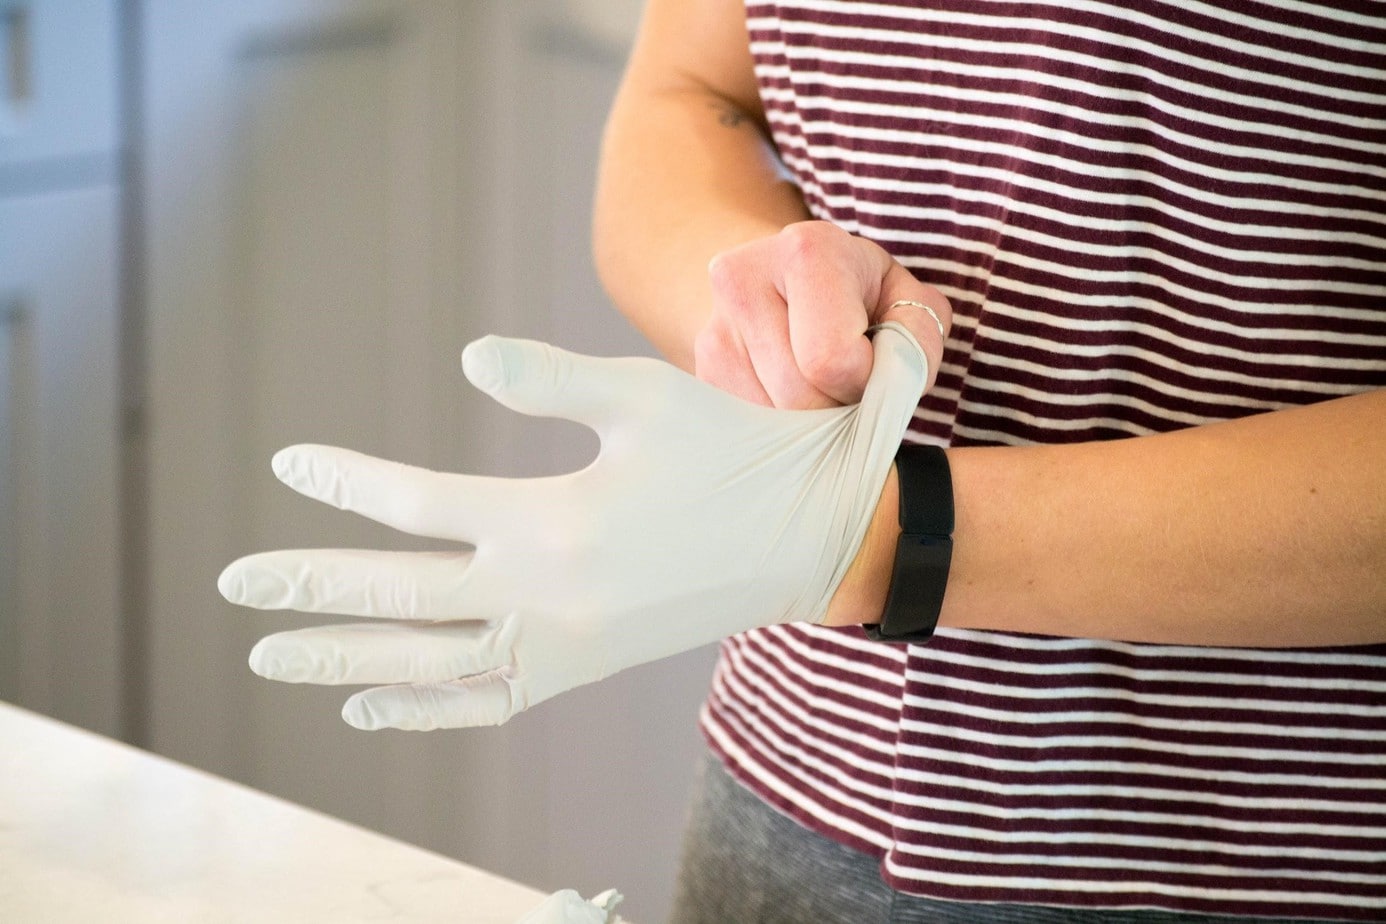
Rubber Gloves: To keep the whole process sanitary!
A Prepaid Shipping Box: When you’re finished with your impressions, you can package them up and send them right back.
Step 3: Take Photos of Your Teeth
Impressions give SnapCorrect’s dentists much of what they need to assess your smile and develop your treatment plan. However, they need images of your actual teeth too. So, you’ll need to snap a few selfies for them, each at a different angle. By analyzing the photos along with your impressions, they can get a more complete view of your dental condition and design an aligner treatment to match.
This is where the Smile Expander comes into play. Place it on either side of your mouth with the larger tabs on the inside. It might look silly, but it provides a clear view of all your teeth, front to back. Here are the five required photos:
- Front bite – Bite all the way down on your back teeth (like you would naturally) and take a close-up photo from the front.
- Right side bite – Hold that natural bite and position your camera on the right side. Make sure you can see all the way to the back two molars.
- Left side bite – This is the same as the right side photo except – you guessed it – you’ll position the camera on the left side. Again, make sure you can see all the way to the back two molars.
- Upper teeth – Open your mouth wide and tilt your head back until you can see the bottom surfaces of all your back teeth. Take a photo of your top dental arch.
- Lower teeth – Keep your mouth open and tilt your head forward until you can see the top surfaces of all your back teeth. Take a photo of your bottom dental arch.
Now you’ve got a whole set of great-looking photos. Upload them directly to your SnapCorrect account or email them to mysmile@snapcorrect.com. They will let you know if you need to retake any. You can submit your photos before you receive your Impression Kit (SnapCorrect actually recommends it). The Smile Expander is helpful, but you can still take effective photos without it.
- Make sure you’re in a well-lit space
- These photos should be closeups – just of your mouth, not your entire face
- Use your phone’s flash to see your entire mouth
- Be careful that your lips and tongue don’t get in the way
- Sometimes, getting some help from a friend can make the process easier
Step 4: Nail Your Impressions
Alright, now it’s showtime. Even though you’ll be taking the impressions on your own, SnapCorrect gives you a fairly comprehensive set of instructions. Before you do anything else, be sure to watch this video from start to finish. You should also review their impression tips sheet for some extra guidance. It will give you a sense of the impression procedures. Refer back to this video as you go along for extra assistance.
First, make sure to brush and floss. You don’t want anything in your teeth that could interfere with the impressions!
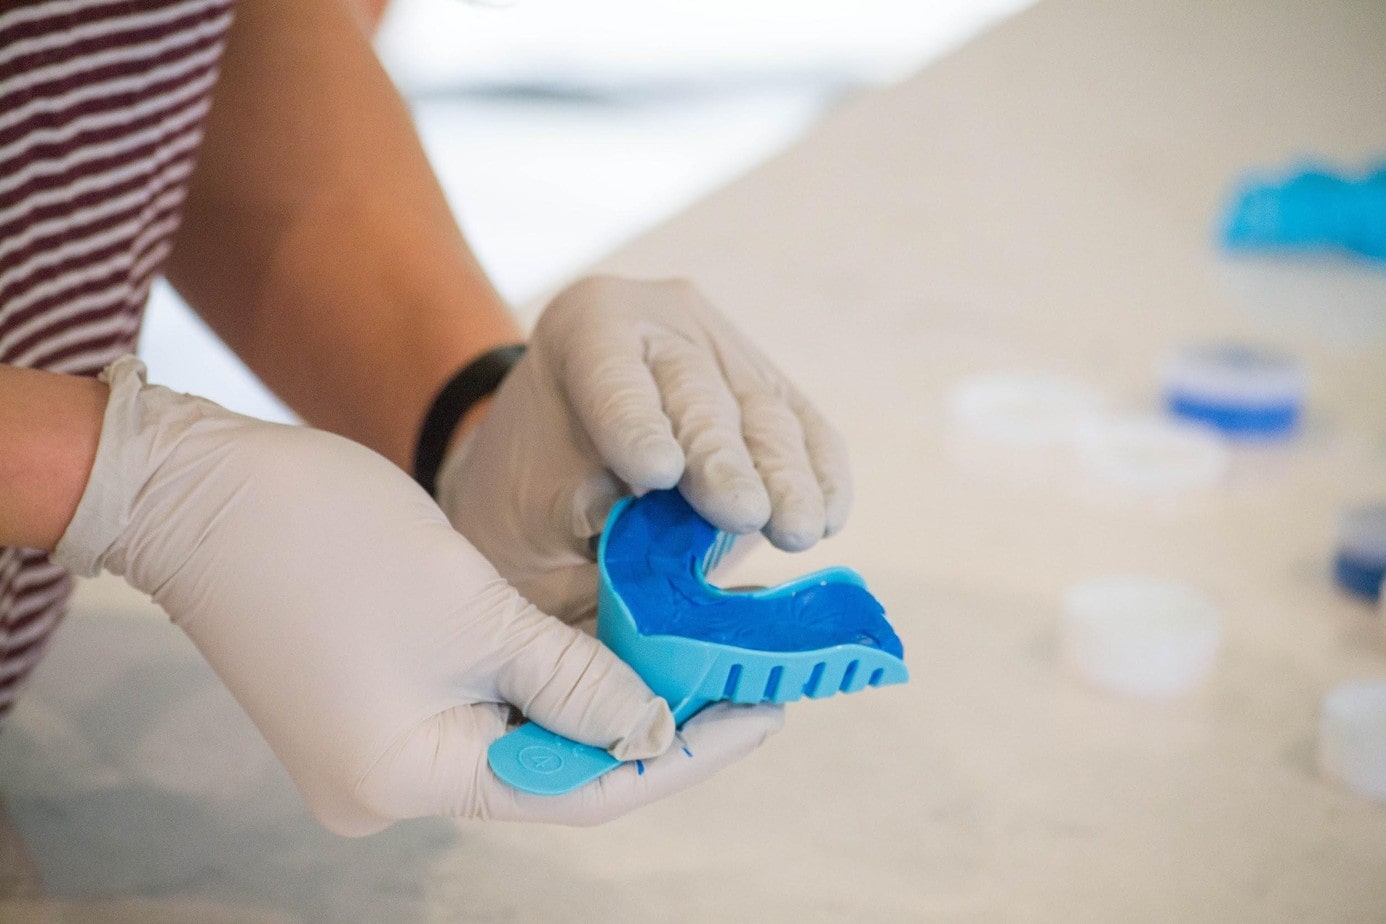
Time to get started. Don’t just open the box and start mixing the putty. You need to refrigerate it for at least 30 minutes prior to using it. This ensures that it won’t harden too quickly. Once that putty is nice and chilled, you’re ready to go. Take out one container of the catalyst and one container of the base, remove the putty, and get mixing.
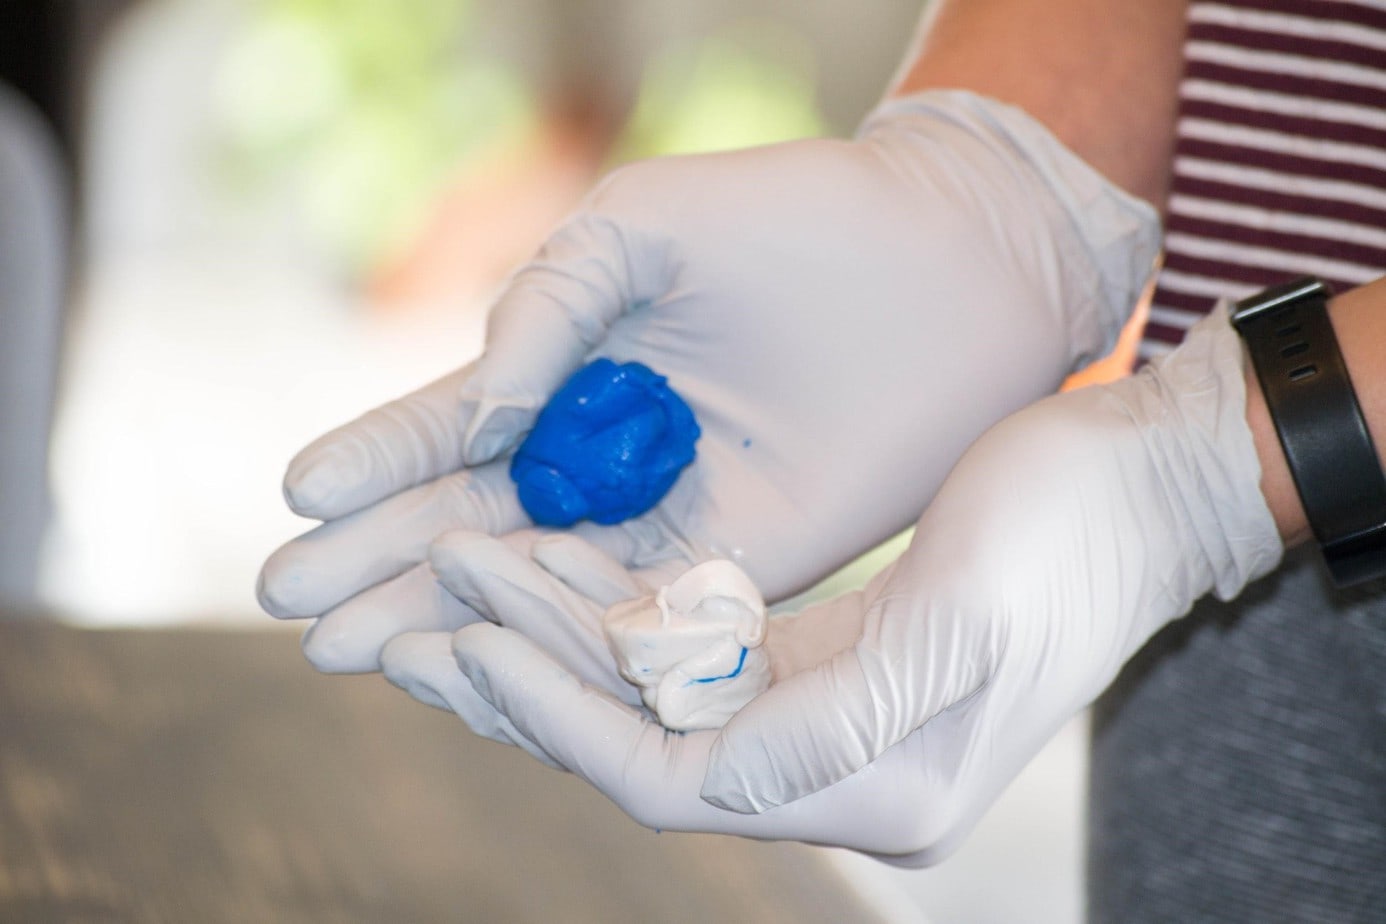
Using only your fingertips, mix the two putties, folding it over itself until it’s one solid color (no streaks or marbling!). This process should take you no longer than 90 seconds because the mixture will start to set soon after they’re combined. So, mix fast and keep a timer nearby.
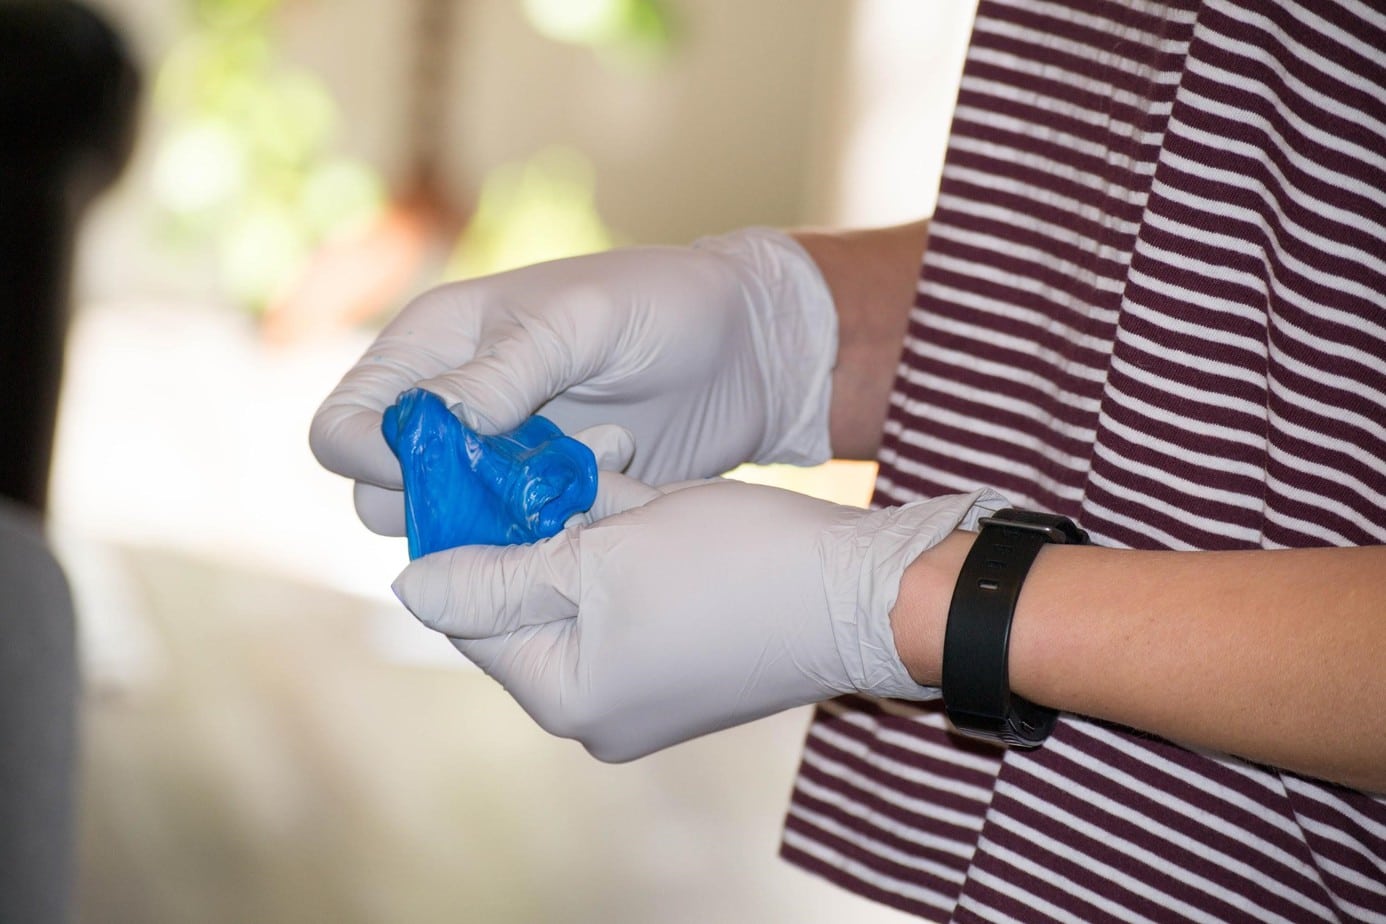
Once you have an acceptable mixture, roll it into a 4-inch cylinder (about the width of your hand) and put it in one of your trays. It should fill the entire tray, but don’t force it. Rolling and placing your putty should take another ~20-25 seconds.
Now is the moment of truth. Find a mirror and use it to center the tray in your mouth. Then, push it into place with your thumbs. The putty should cover all of your teeth (molars included) and overlap your gum line. If it doesn’t, push further.
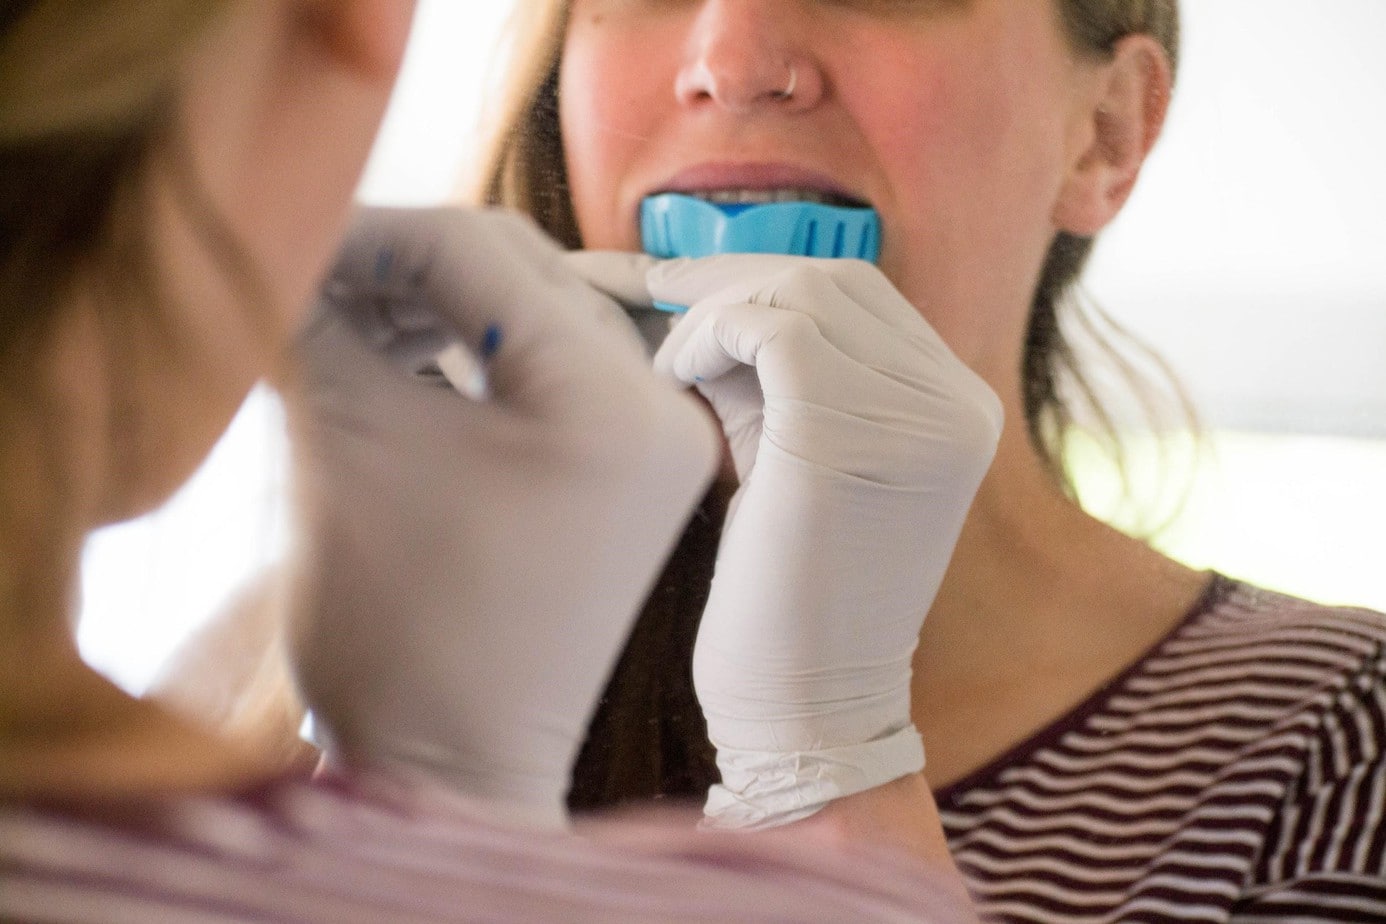
Pull your upper or lower lip over the putty and tray and leave everything in place for 3 minutes and 30 seconds. When time is up, carefully remove your tray and voilá! You’ve got your first impression.
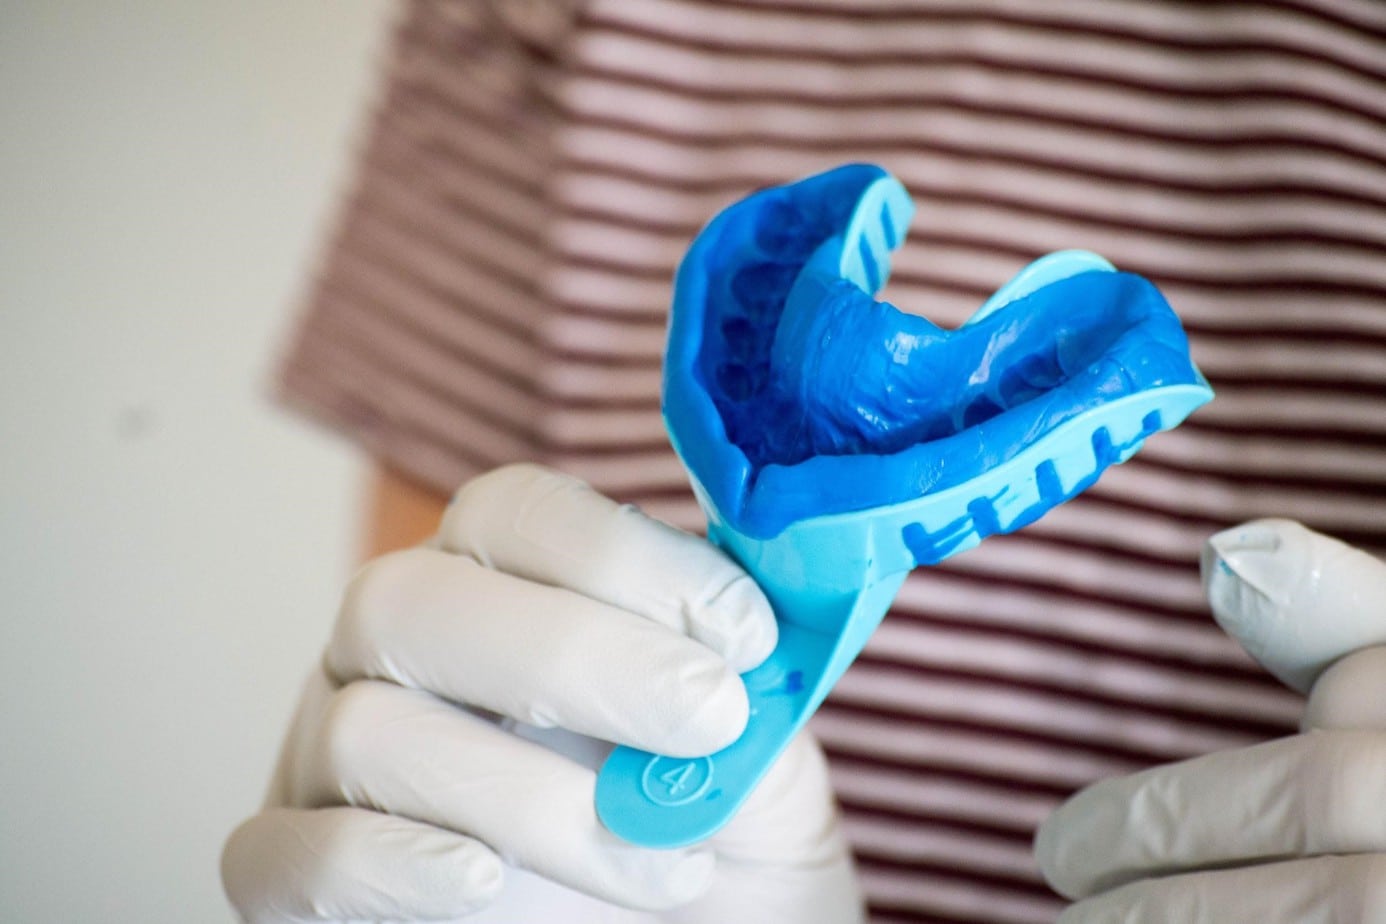
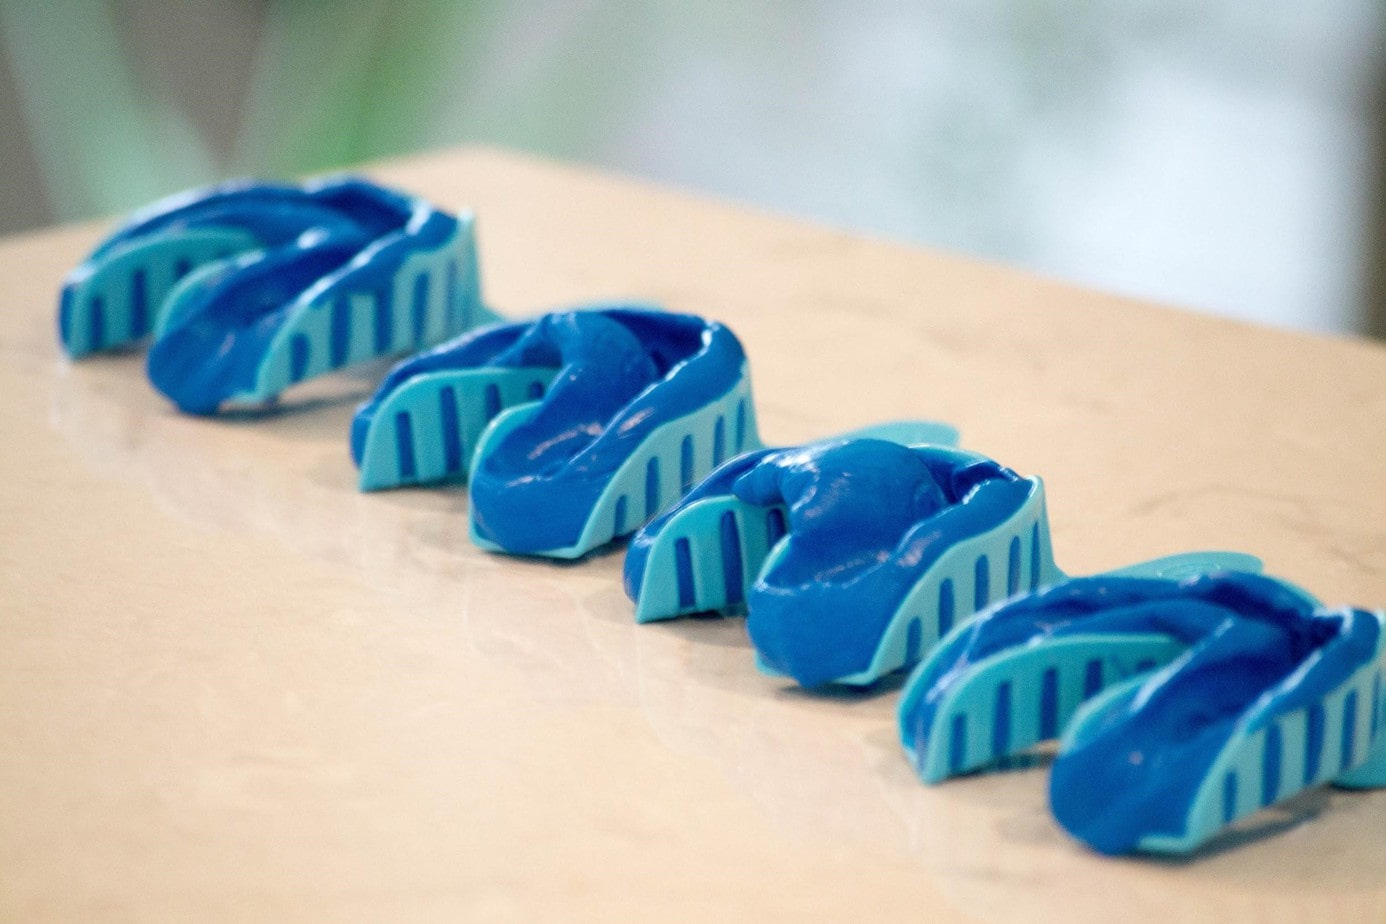
Repeat this process with the other three trays. When you’re done, you’ll have four beautiful impressions ready for SnapCorrect’s dental team.
A quick warning: There will be drool involved when taking your impressions. It might not be pretty, but it’s unavoidable if you want perfect impressions. Just keep some paper towels nearby to clean up.
When you’re done, rinse all your impressions in cold water and let them dry before sending them off. Send all the impressions, even if you think you messed them up!
What if I Mess Up My Impressions?
We won’t lie: taking impressions can be slightly difficult. This is why SnapCorrect gives you multiple attempts at it. Still, it might take a few tries to get it right.
Let’s say you finish your impressions and none of them look quite right. Maybe they’re too shallow. Maybe they don’t capture your gum line. Maybe your teeth moved around too much. Don’t panic! If you’re unsure whether your impression will be acceptable, send them off anyway. SnapCorrect’s orthodontists will let you know if you need to try it again. In this case, they’ll send another kit for a $29 fee (refunded if you purchase the full aligner treatment).
Step 5: Review Your Treatment Preview
Congratulations! You finished your Impression Kit, and SnapCorrect makes it easy to return your impressions. They provide a plastic bag with your kit. Just place them inside, seal the box, and mail it off.
When SnapCorrect’s dentists receive your impressions, their first move will be to determine whether or not you’re a good candidate for treatment.
Unfortunately, not everyone is a good candidate. For example, SnapCorrect’s treatment might not be able to effectively correct certain bite issues (like overbite or underbite) or severe cases of crowding or spacing. Your photos and impressions will provide enough information for orthodontists to determine whether SnapCorrect’s aligners can treat your condition. If you find out that you’re not a good candidate, SnapCorrect will fully refund the cost of your kit.
But if you’re deemed a good candidate, you’re ready to go. A dentist (along with dental technicians) will create your full treatment plan and send you a preview. This preview is a 3D visualization of your smile, showing how it will look during each step of the treatment.
Before Moving Forward: Is SnapCorrect Right For You?
At this point, you’re at a crossroads. You can either choose to continue with treatment or not. There’s no obligation to continue, so you can back out with no consequences (although you won’t get a refund for your Impression Kit).
If you decide to move forward with treatment, SnapCorrect will manufacture your aligners and ship the complete set to your home. This process typically takes around 4 weeks. Once you get your aligners, treatment will take around 9 months (depending on the specifics of your case).
That said, if you’re still not 100% sure about SnapCorrect, this is also a good time to compare your other options. Our #1-recommended home teeth straightening system is Byte. They advertise an average treatment plan length of just 4-5 months, and with every aligner package, they include a high-frequency vibration device, which some studies (reviewed by our non-clinical team) suggest can reduce discomfort and encourage faster dental shifts
Final Thoughts
If you’ve followed all the instructions listed here, then you’ve taken your first step toward your new smile. Even though impression kits can be difficult, when you consider the fast treatment times, lower prices, and time you’ll save with SnapCorrect’s treatment, this minor inconvenience is well worth it.
With the help of this guide, you’ll have the information and confidence you need to take amazing impressions right off the bat. Then, you can look forward to the rest of the journey toward a dazzling transformed smile.
Join The Discussion: