You’re about to embark on an exciting new smile journey with SmileDirectClub. You can already feel the aligners snugly against your teeth, forming them into the grin you’ve always wanted. There’s just one thing standing in your way: the impression kit. Before you can put a single aligner in your mouth, you need to submit molds of your teeth so that SmileDirect’s dental professionals can craft a personalized treatment plan.
If you’ve never taken teeth impressions before, it can be an intimidating prospect, and we won’t lie — sometimes it can be tricky. But it doesn’t have to be a struggle. We went through the process ourselves and made all the mistakes so you don’t have to. In this guide, you’ll find an in-depth, step-by-step guide to kicking off your SmileDirect treatment, so you can set off on the road to a transformed smile ASAP.
Table of Contents
What to Know Before Getting Started
Before SmileDirectClub’s dental team can develop your treatment plan, they need to get a look at your teeth. This way, they can accurately evaluate your condition and design aligners to correct it. Using the molds you make with your impression kit, these dentists will create a digital model of your smile. By analyzing this model, they can determine whether or not you are a good candidate for treatment. If you are, they will use your impressions to assist in their development of precision aligners that fit your smile perfectly.
This is why companies have high standards when it comes to your molds. Perfect aligners begin with perfect impressions. But don’t worry, with the help of this guide, you’ll be able to nail those impressions and get started with treatment right away.
Keep in mind that some conditions, like bite issues and severe crowding or spacing, are best treated with an in-office option like Invisalign or braces. If your condition is too severe for SmileDirect’s aligners, they will refund the cost of your impression kit.
Step 1: Place Your Order
Before you do anything else, you need to get your hands on SmileDirect’s Impression Kit. This kit costs $59, but sometimes you can score discounts that can drastically reduce the price. You’ll see in the photos below that we’ve taken advantage of a deal that drops it to $9.
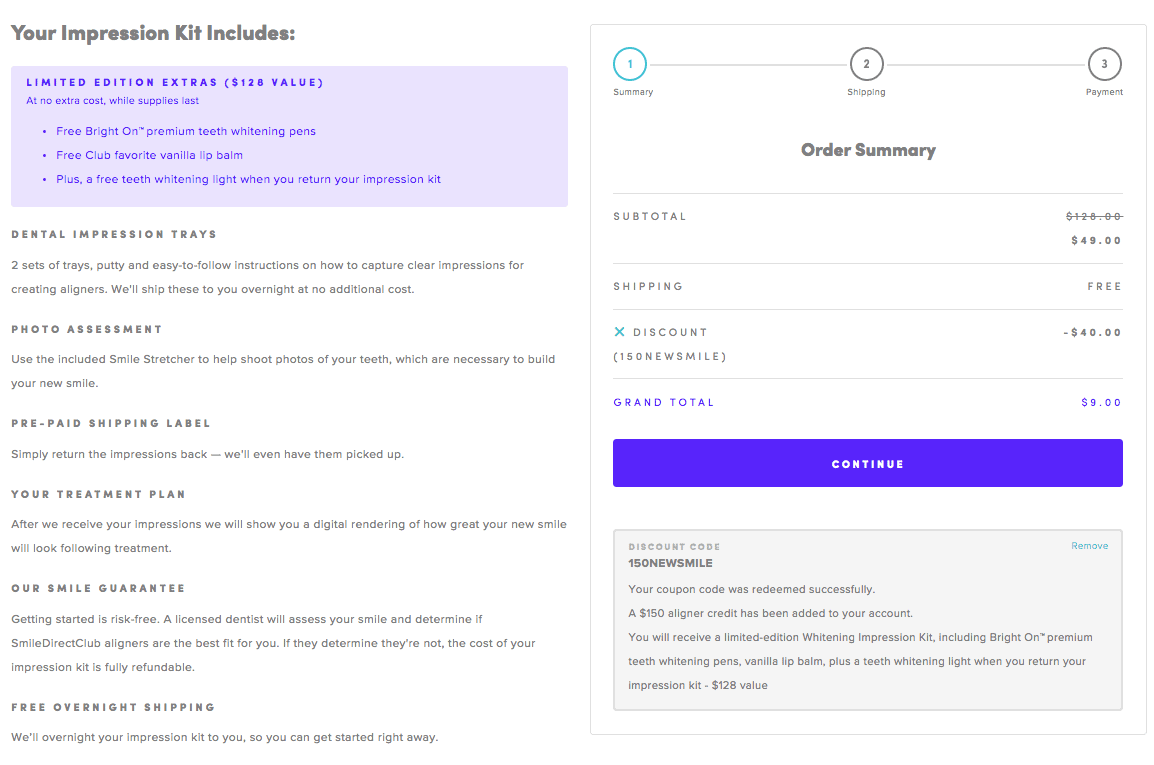
Click “Continue” and you’ll be directed to a page where you can enter your contact and shipping information.
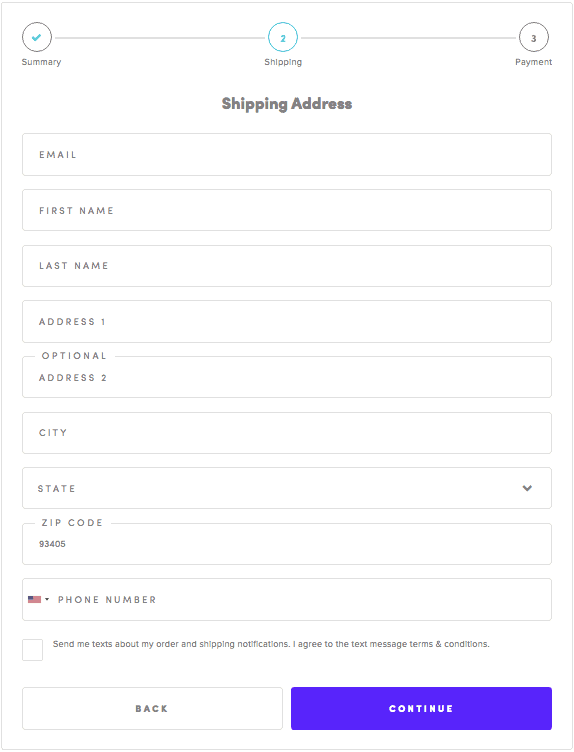
Enter the appropriate information and click the “Continue” button. On the next page, you can enter your payment information.
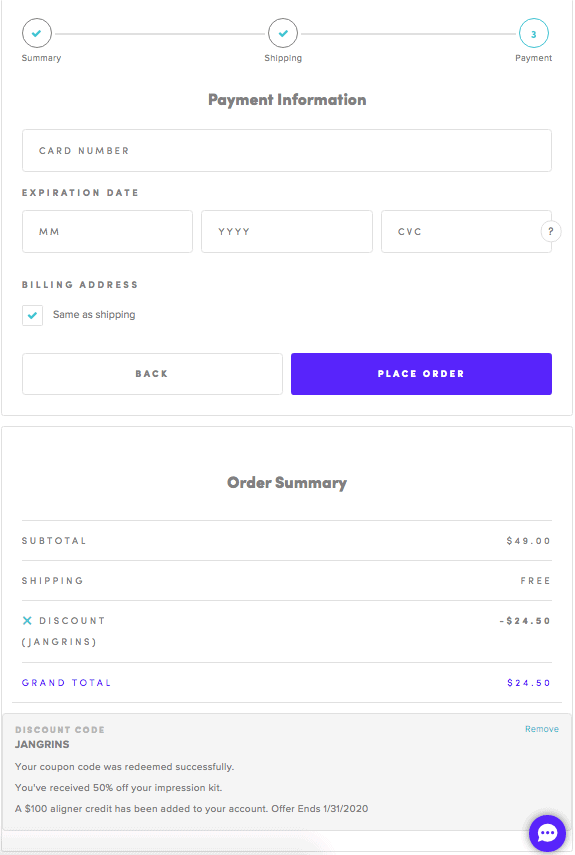
After you hit “Place Order,” your purchase will be complete! You’ll receive an order confirmation email.
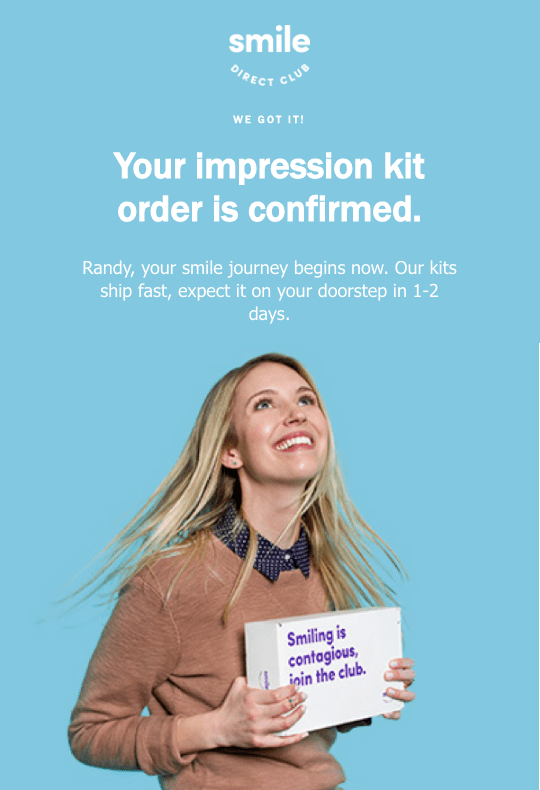
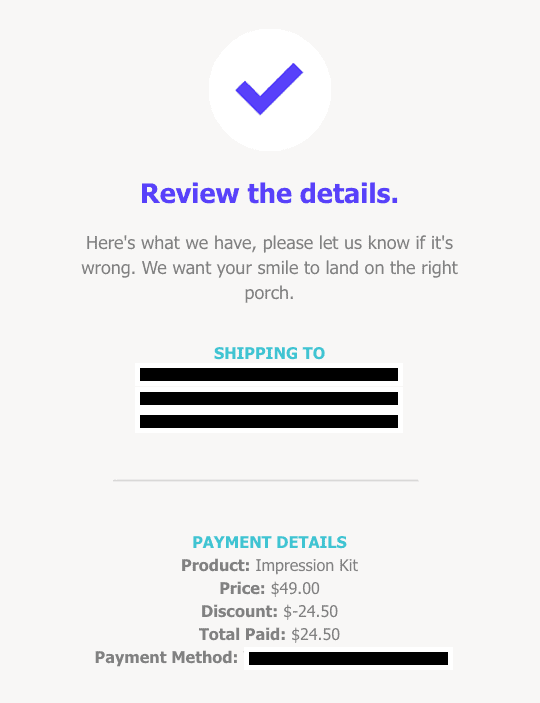
And another one when your Impression Kit ships:
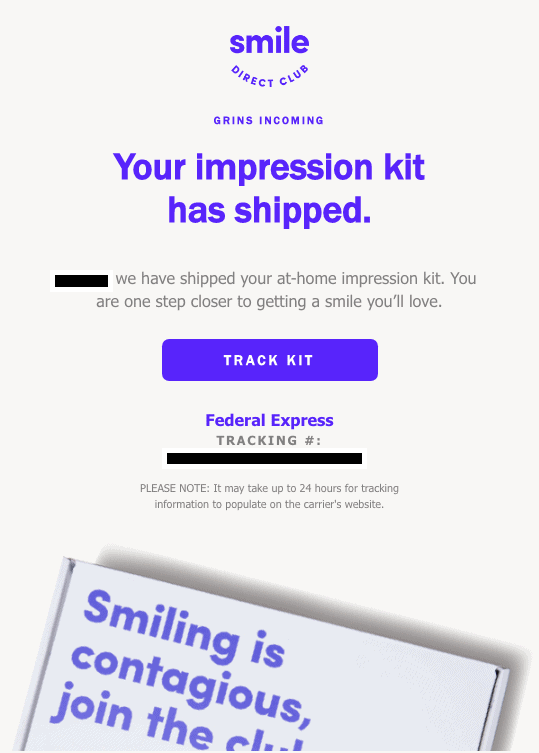
When SmileDirectClub says they have a 1–2 day shipping time, they mean it, so you should find the impression kit on your doorstep within just a couple of days.
Step 2: Unbox Your Kit
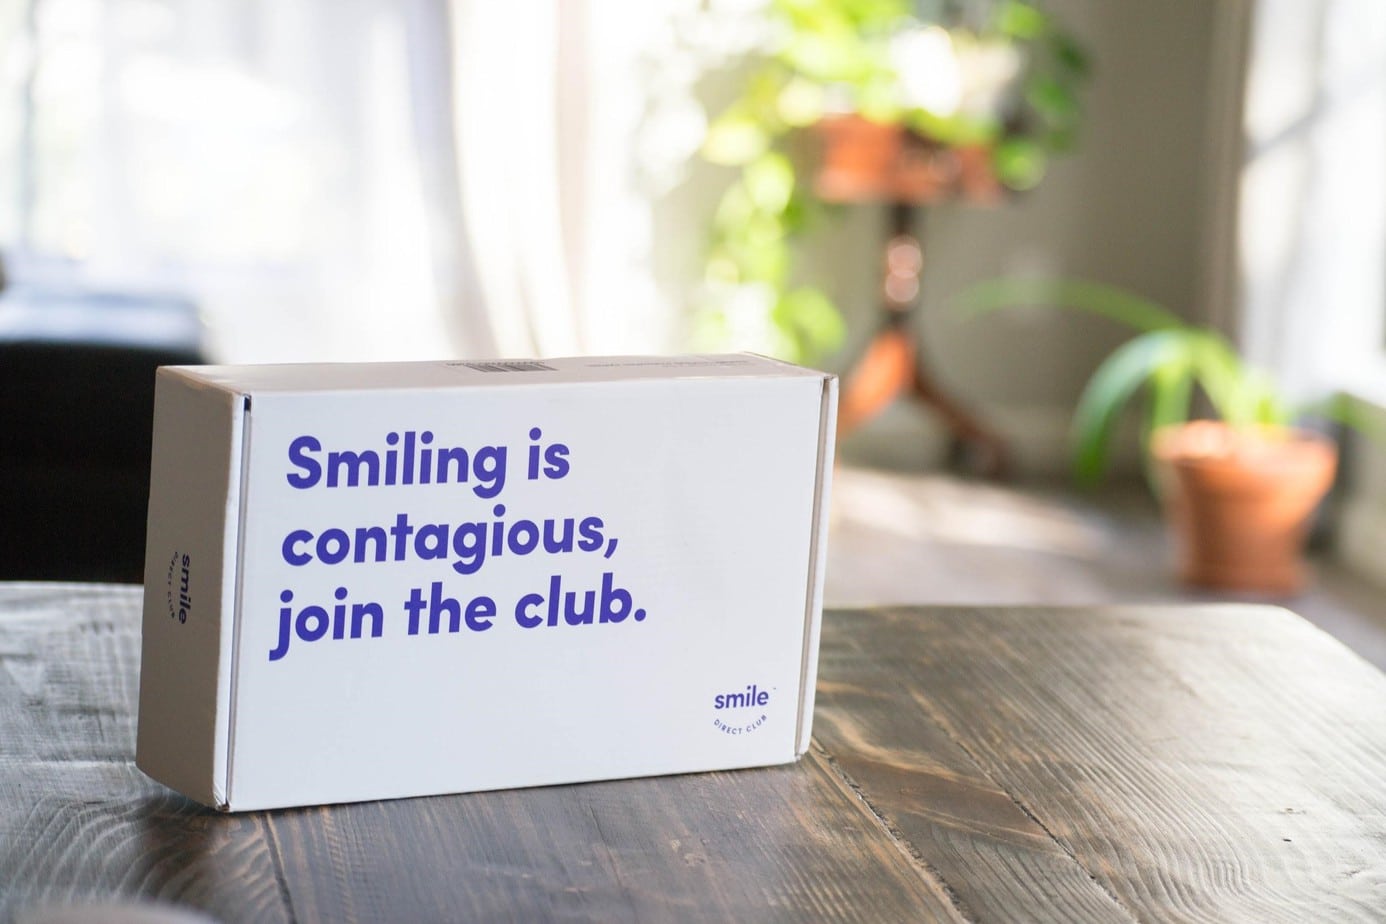
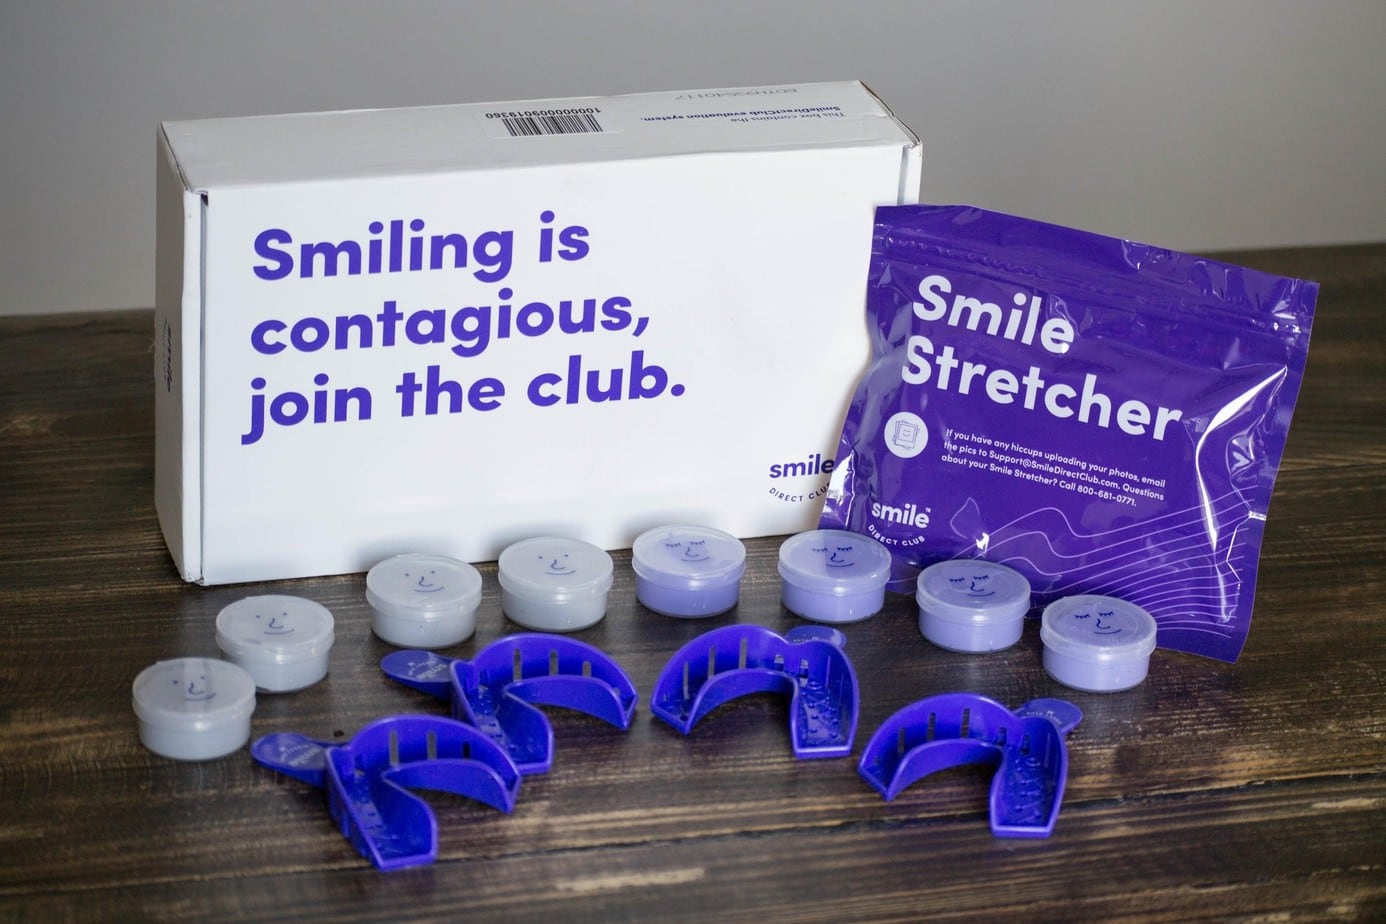
So, what’s included in a SmileDirect impression kit? The idea of taking teeth impressions might be a foreign concept, but SmileDirect gives you everything you need to complete the process — all inside some pretty stylish packaging. Here’s what you’ll find when you open up your kit:
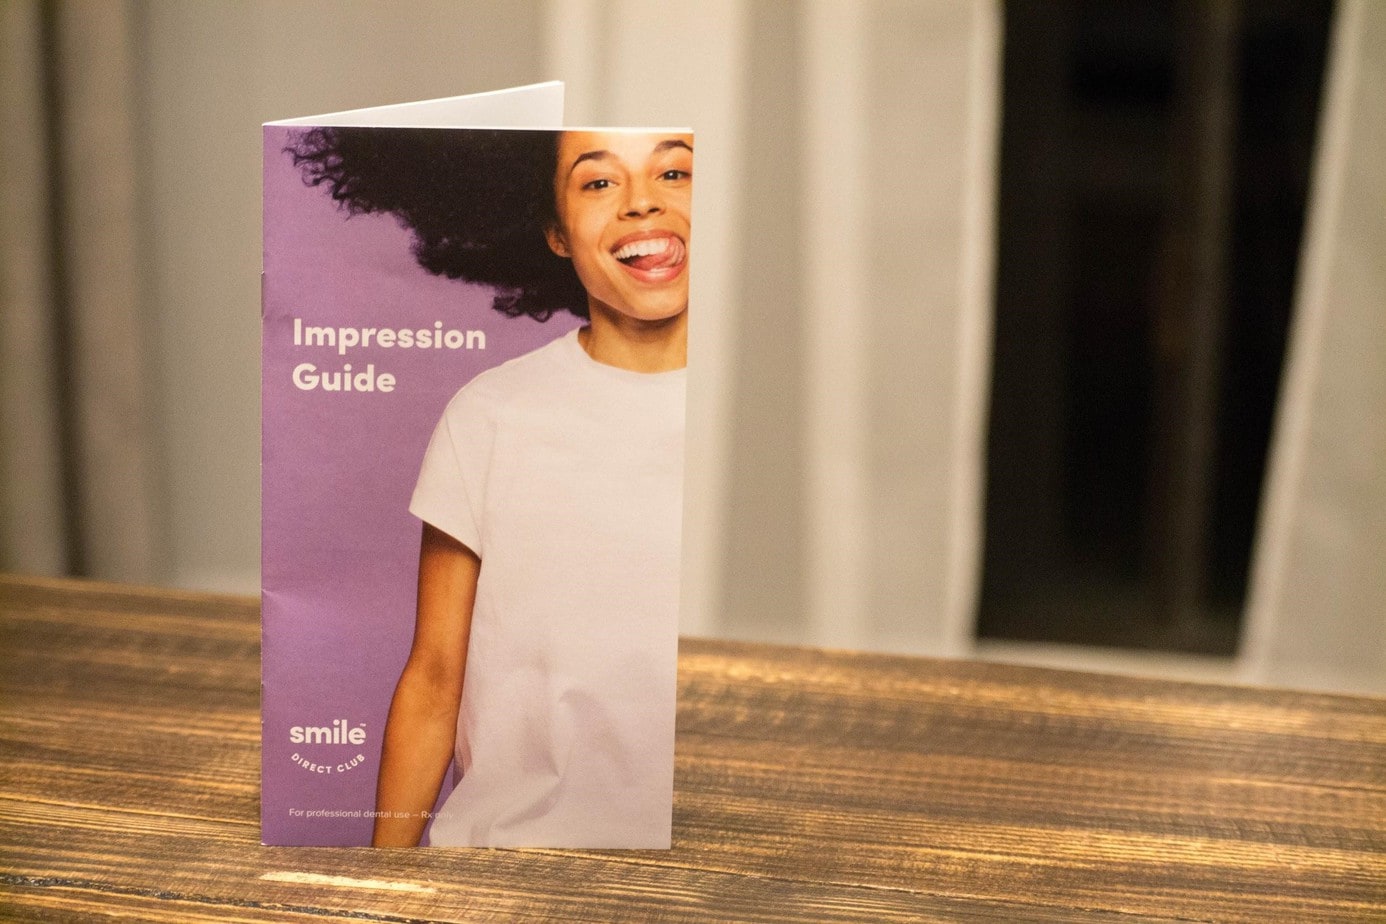
An Impression Guide: This helpful little booklet provides step-by-step instructions for taking quality impressions.
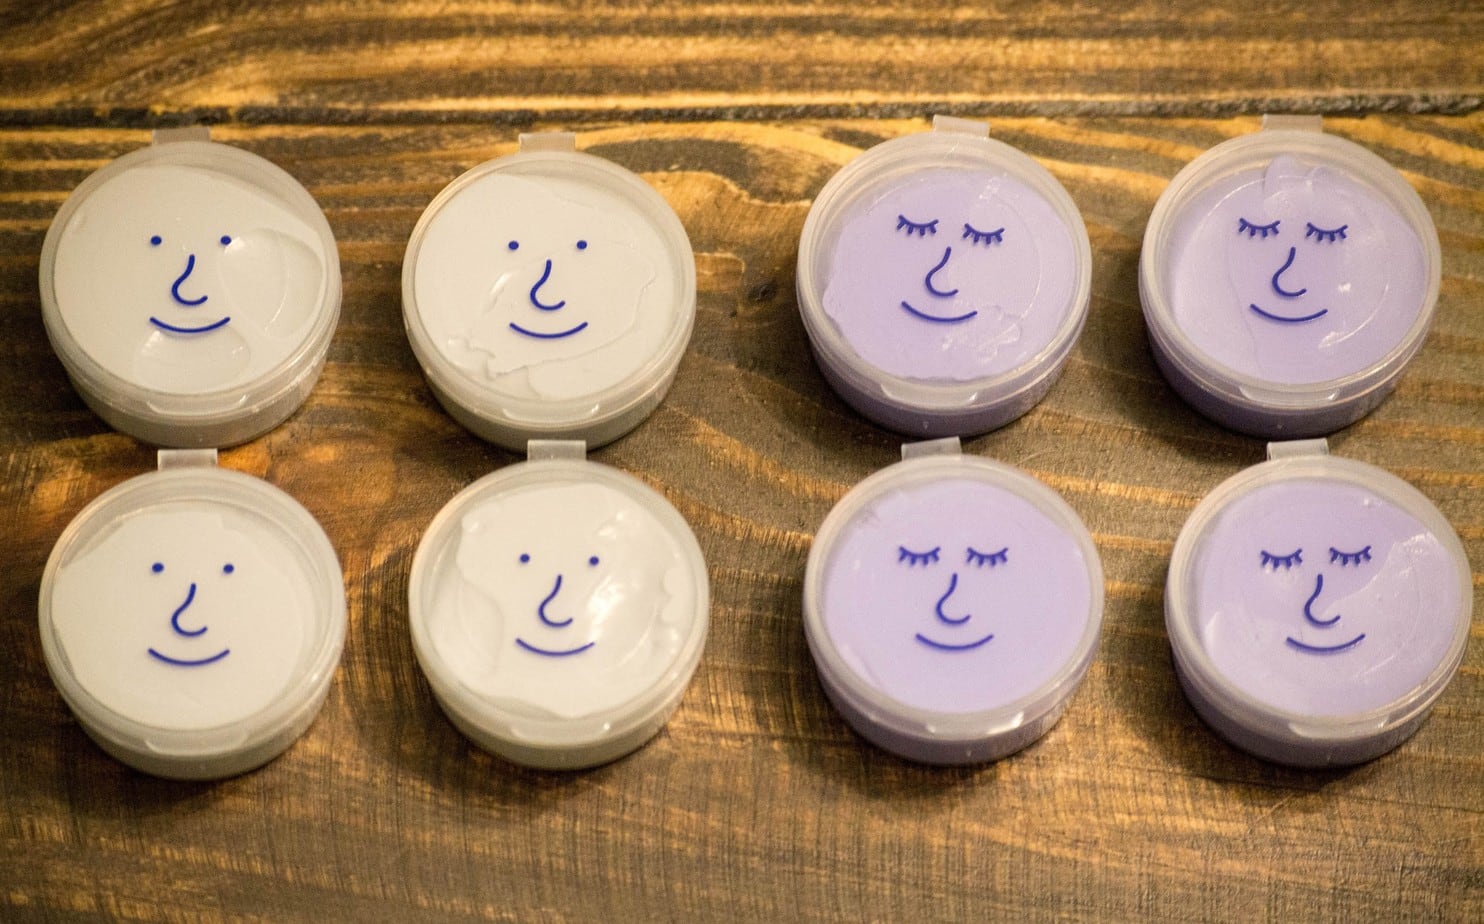
Purple and Gray Putty: When combined, these putties form a soft mixture that will slowly harden to create a mold of your teeth. SmileDirectClub provides enough putty for two molds of your top teeth and two of your bottom ones, so even if you mess up, you have another shot at it.
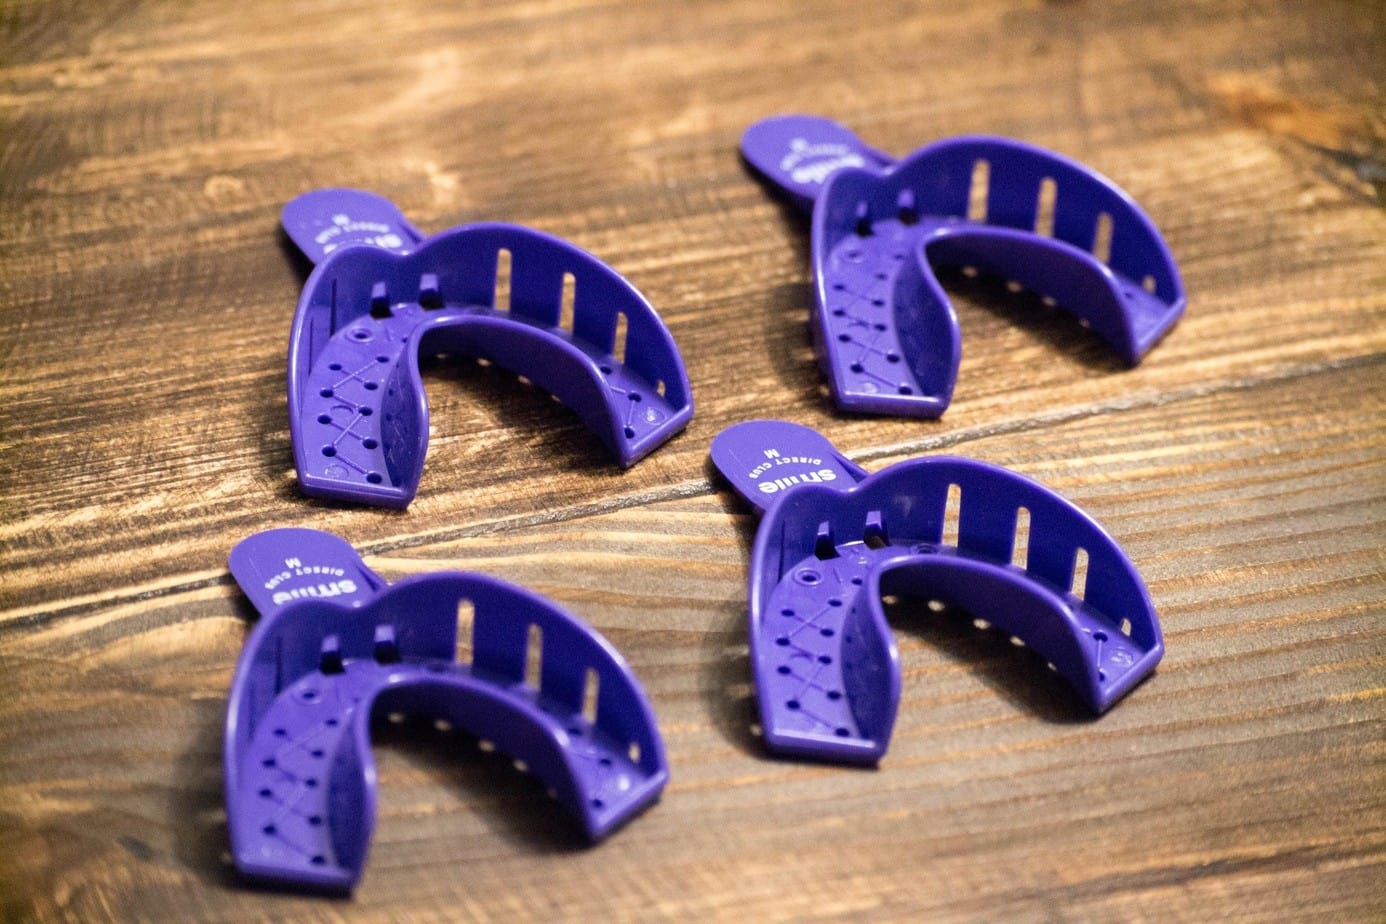
4 Impression Trays: You’ll fill these trays with your putty mixture before biting down to create your impressions. They each have a tab for easy removal.
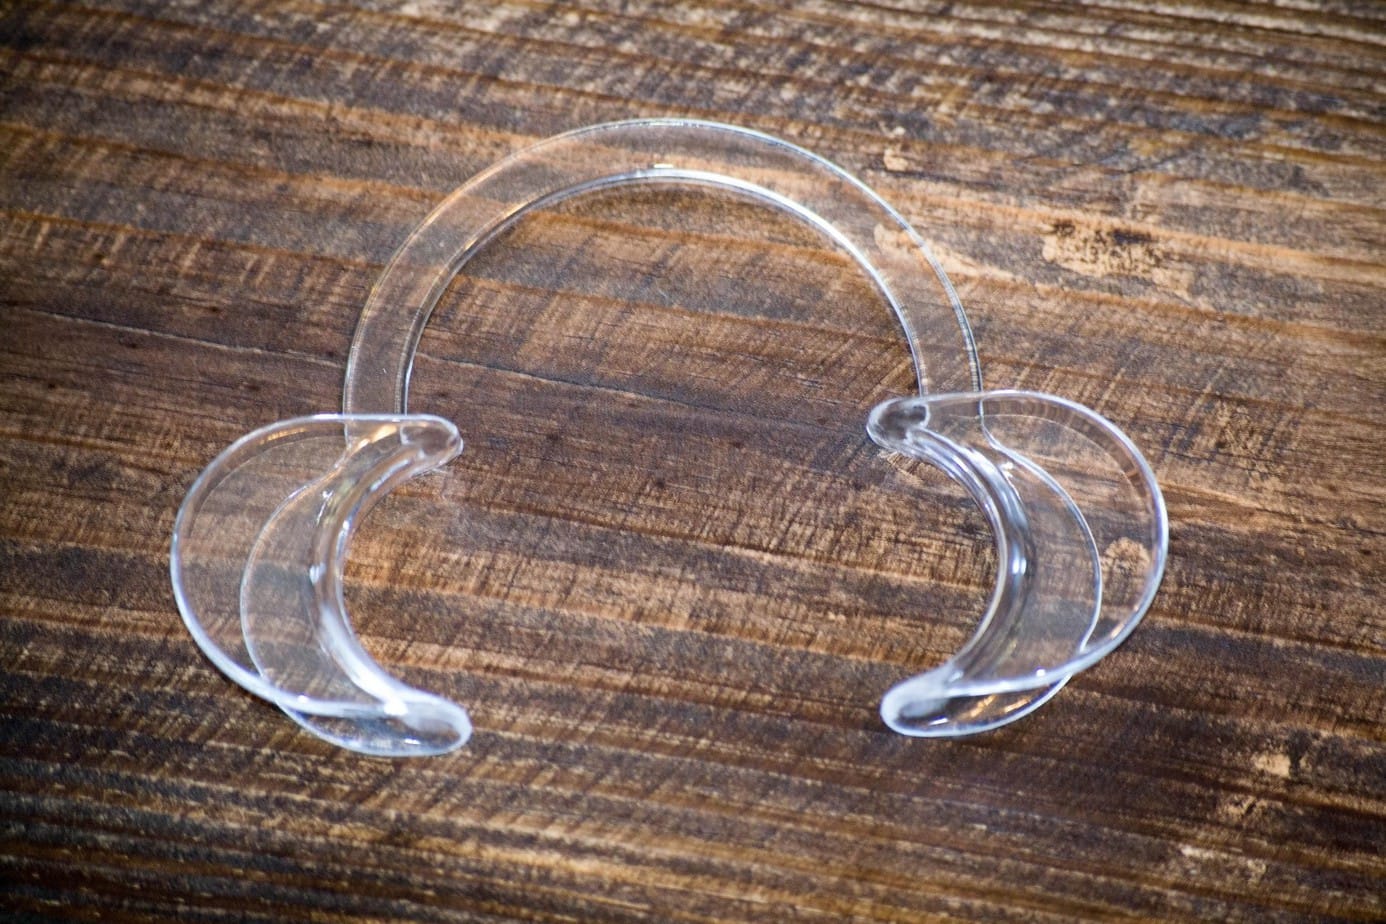
A Smile Stretcher: This handy plastic device pulls back your lips and cheeks so you can take clear photos of your teeth (also required for evaluation).
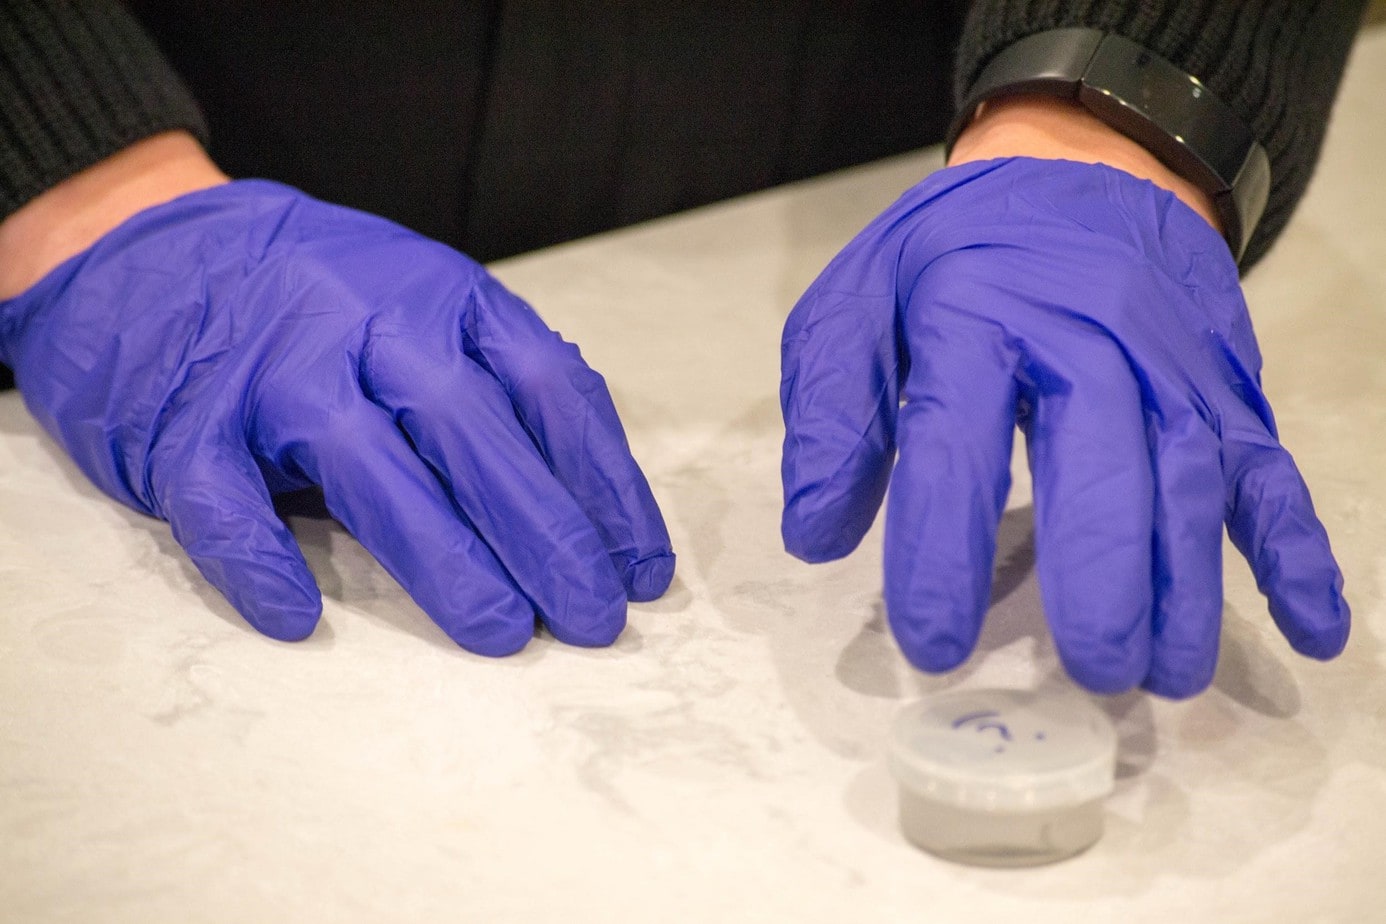
Nitrile Gloves: To keep the whole process sanitary!
A Prepaid Shipping Box: When you’re finished with your impressions, you can package them up and send them right back.
Step 3: Take Photos of Your Teeth
Your impressions are important, but to create the most accurate aligners possible, SmileDirectClub’s dentists also need to see photos of your actual teeth. They only require three photos, so it should be a pretty quick process. You’ll want to use your phone’s main camera — not its selfie camera — because it takes higher quality photos. It’s ideal to have someone else take the pictures for you, but if no one else is around, you can also use a mirror to take them yourself.
Here’s where the Smile Stretcher comes in. Place it on either side of your mouth with the larger tabs on the inside. This will give a clear view of all your teeth. Then, take three photos:
- Upper teeth — Tilt your head back until you can see the bottom surfaces of all your back teeth and take a photo of your top dental arch.
- Lower teeth — Tilt your head forward until you can see the top surfaces of all your back teeth and take a photo of your bottom dental arch.
- Front bite — bite down on your back teeth and take a photo from the front. Make sure that your lips aren’t covering your top or bottom gums!
Once you’ve snapped some great photos, you’ll need to upload them to your SmileDirectClub account. The site will also ask you to complete a short dental and medical history questionnaire. After you finish, SmileDirect’s team will review your photos and let you know if they’re good to go, or if you need to retake them. If one of your photos isn’t quite right, they’ll tell you exactly how to fix it.
A couple of other tips for taking great photos:
- Don’t hold your phone/camera too far away. These need to be detailed, close-up photos.
- Use a light, but not one that’s too bright
- Make sure your teeth are clean!
Step 4: Nail Your Impressions
Alright, now it’s showtime. Even though you’ll be taking the impressions on your own, SmileDirectClub gives you a fairly comprehensive set of instructions. Before you begin, read through the Impression Guide included in your kit, just so you have a sense of what the whole process entails.
First things first: make sure you brush and floss your teeth! You don’t want anything in your teeth that might interfere with the impressions. Ready to go? Great.
You’ll be taking four impressions: two of your top teeth and two of your bottom, although the procedures are pretty similar for both. Wash your hands, slap on those nitrile gloves, and take out one putty of each color.
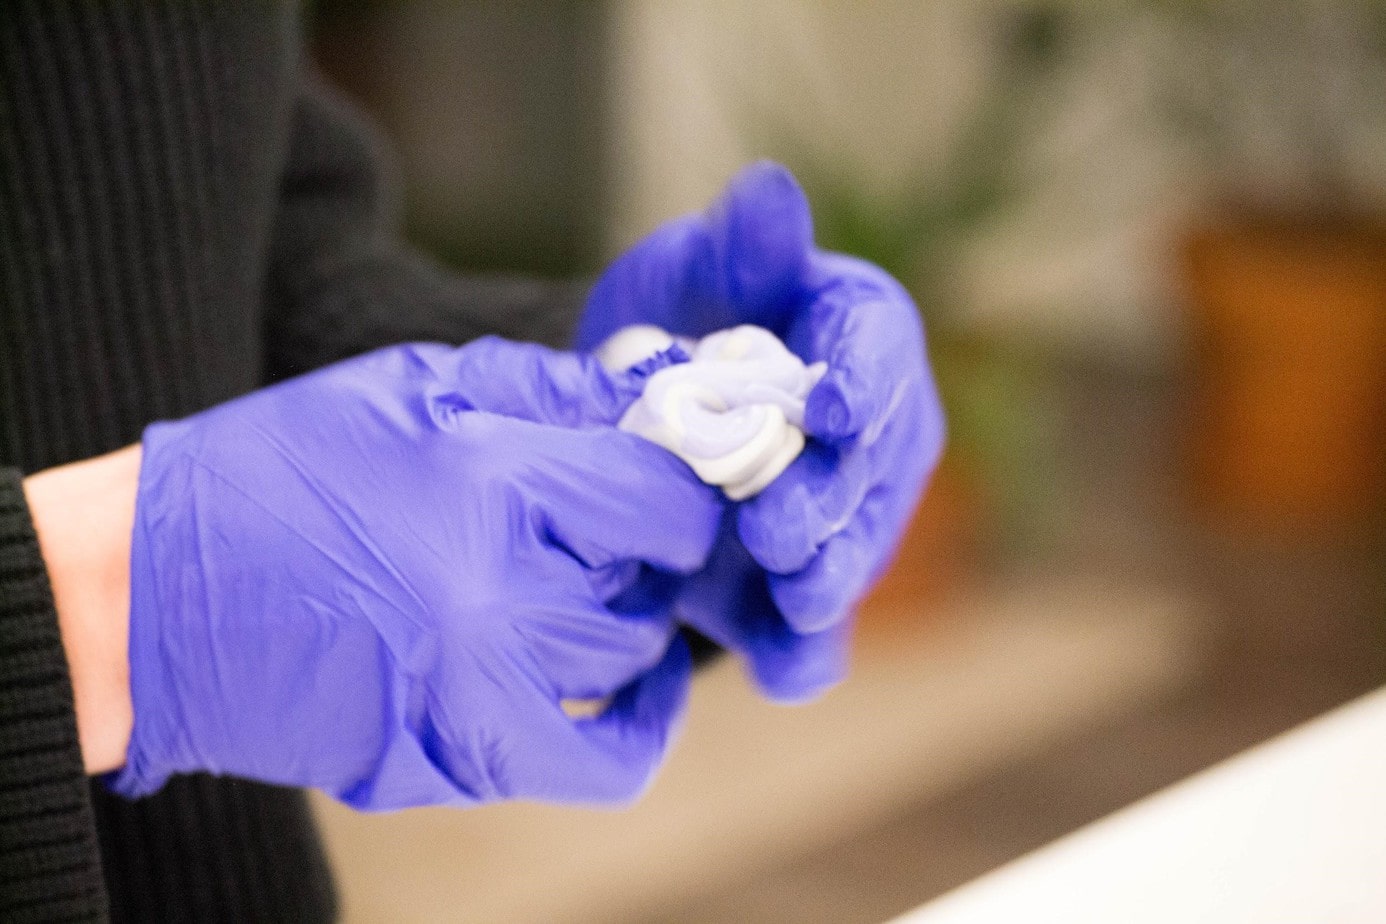
Mix the putties together by folding them both over and over again until it’s one solid color (resist the urge to simply roll them. Folding is the way to go!).
When you’ve effectively mixed the putty, roll it into a 4-inch long cylindrical shape and place it in the tray, filling the entire U-shape. Don’t push the putty in — simply form it to the horseshoe shape.
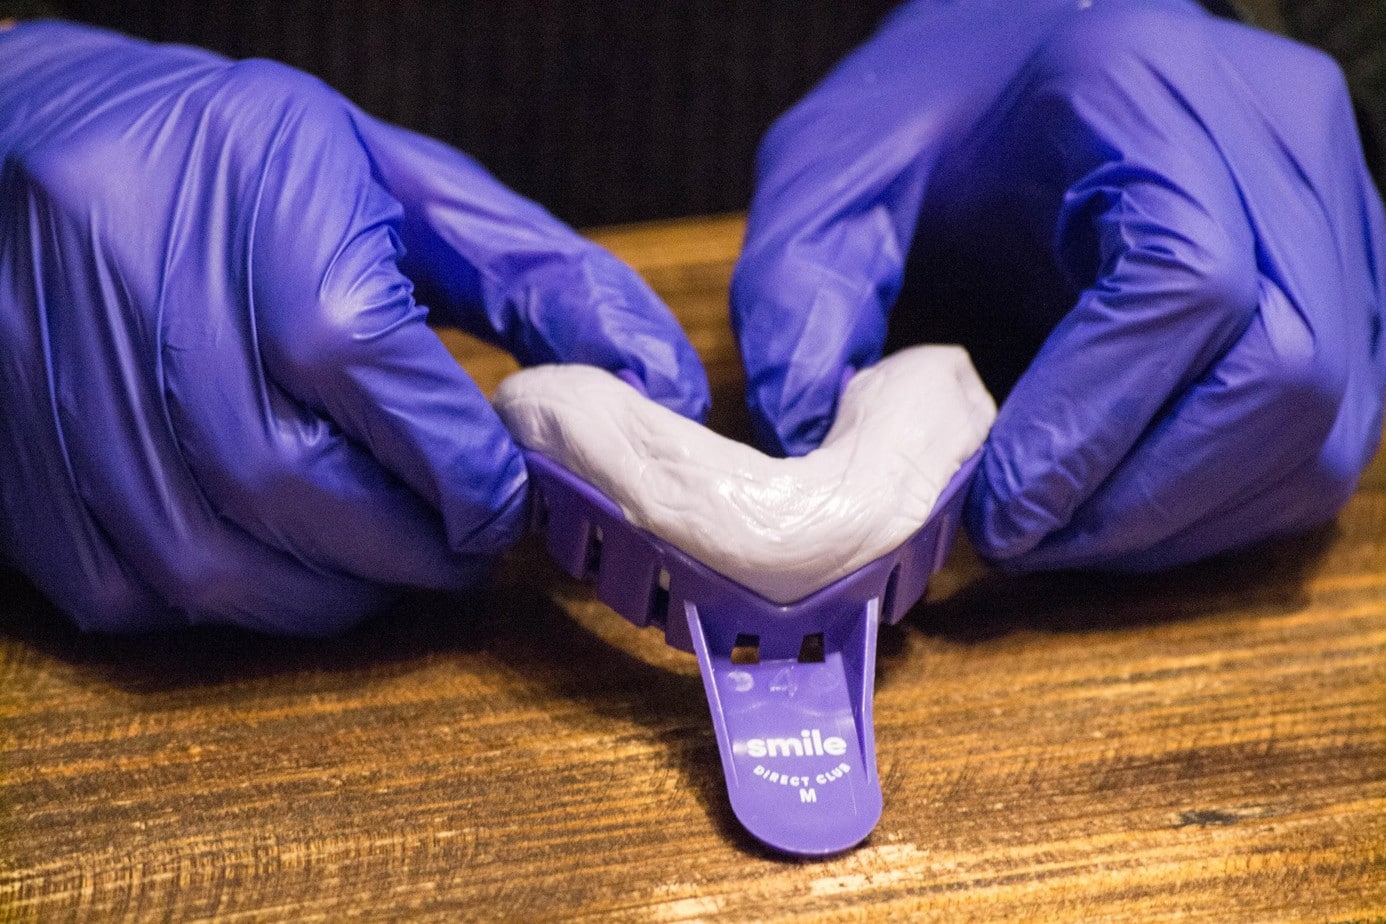
Note: Once you begin mixing the putty, it will set within 90 seconds, so you’re on the clock. Here’s the timeline SmileDirect suggests:
- Mixing putty: 30 seconds
- Rolling into 4-inch shape: 20 seconds
- Placing in the tray: 20 seconds
This will leave you with 20 seconds to bite down and take an impression.
Now you’re ready to create your impression. Use a mirror to make sure the tray is properly positioned in your mouth, then bite down. All of your teeth — both front and back — should touch the bottom of the tray. The putty should slightly overlap your gum line and you should bring your top lip over the front of the tray. When the tray is firmly in place, don’t move it for 2.5 minutes, after which you can use the tab to remove it. And voilá! You’ve got your first impression.
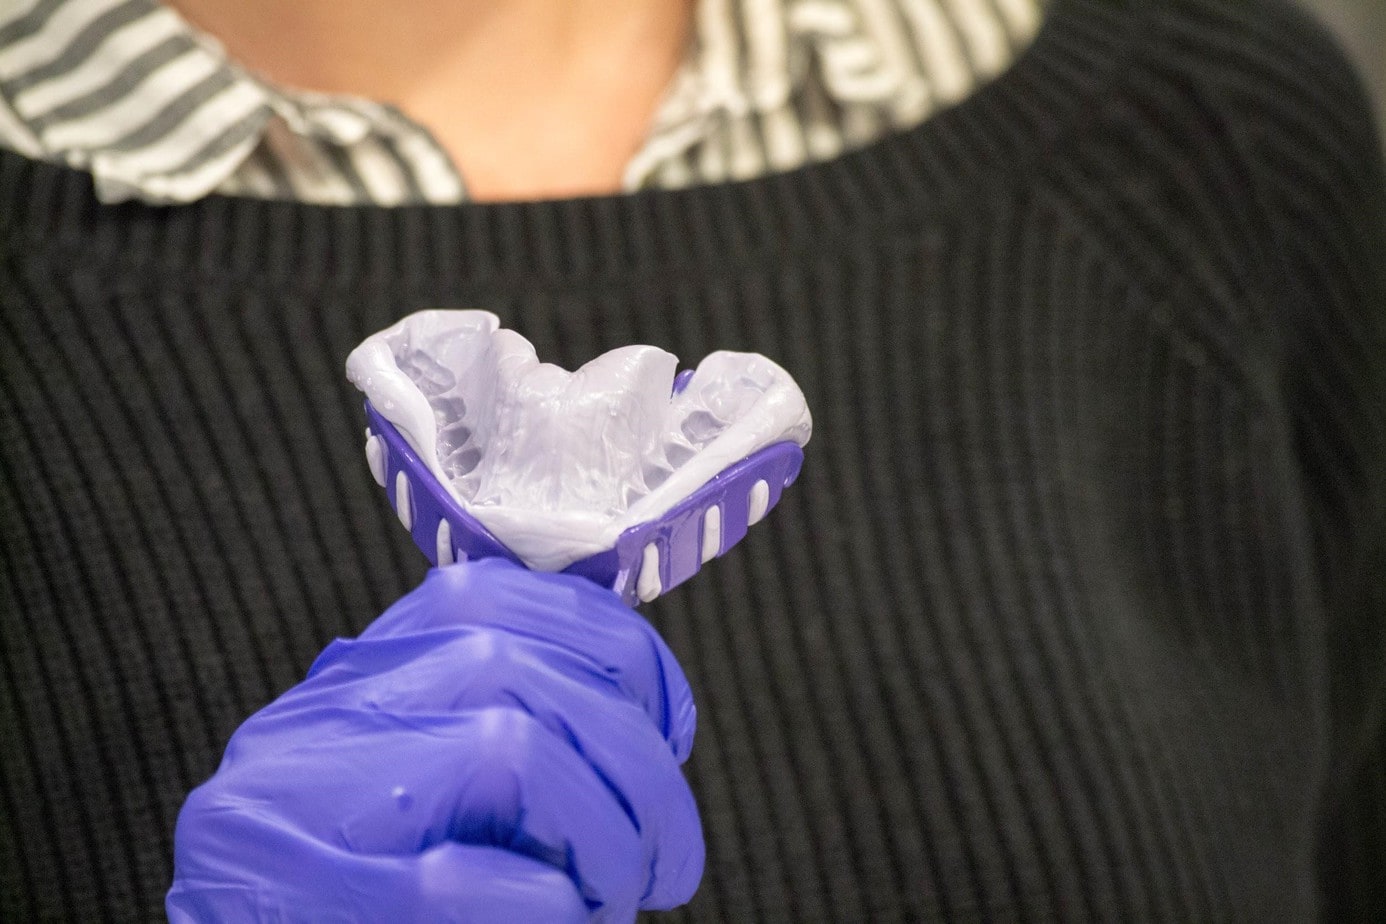
Repeat this process with the other top tray and two bottom trays and you’ve got a full set. SmileDirectClub’s dentists only need one good set of top and bottom impressions to create a treatment plan, but getting it right the first time is tricky, so they give you two attempts.
Know ahead of time that this process will involve drool, but it’s totally worth it. Just keep a towel nearby to clean up.
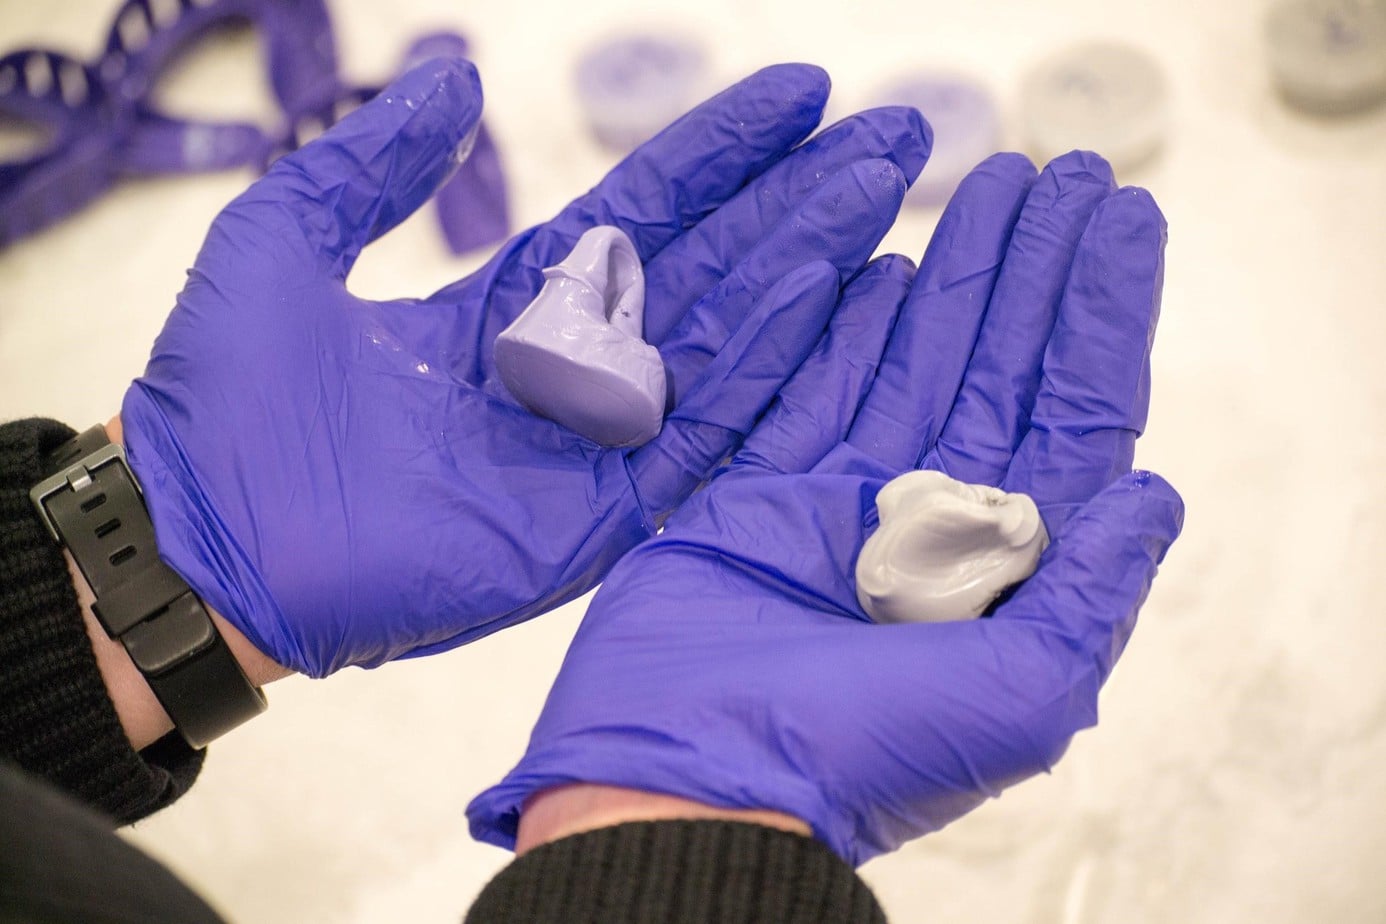
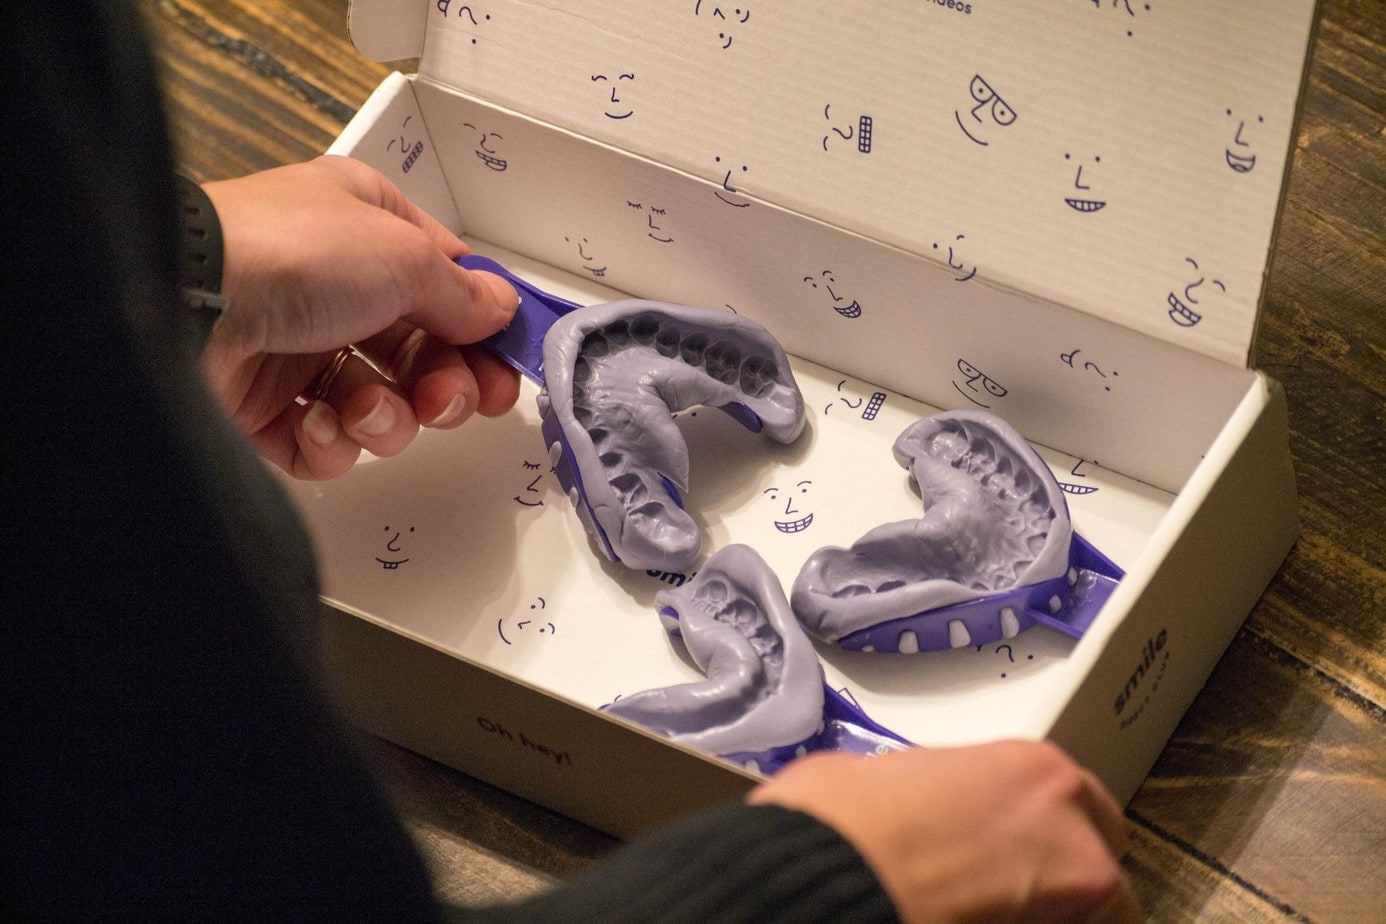
Take a look at the impressions below. The one on the left likely won’t work. Why? Because the back is too shallow and the front doesn’t show the full gum line (see the way some of the front impressions end abruptly?) By contrast, the impression on the right is deep enough and gives a better view of the gum line.
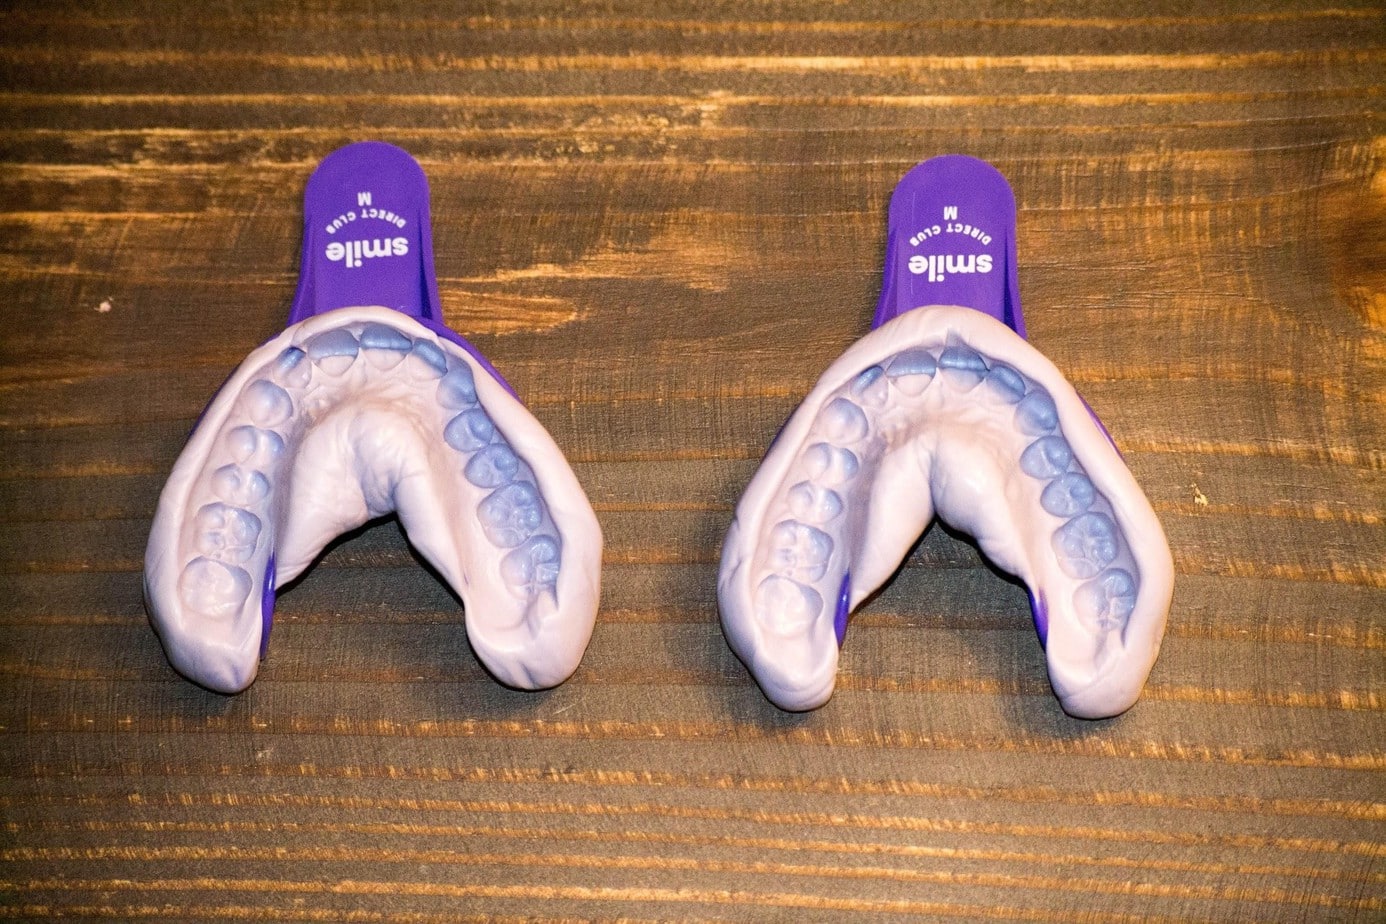
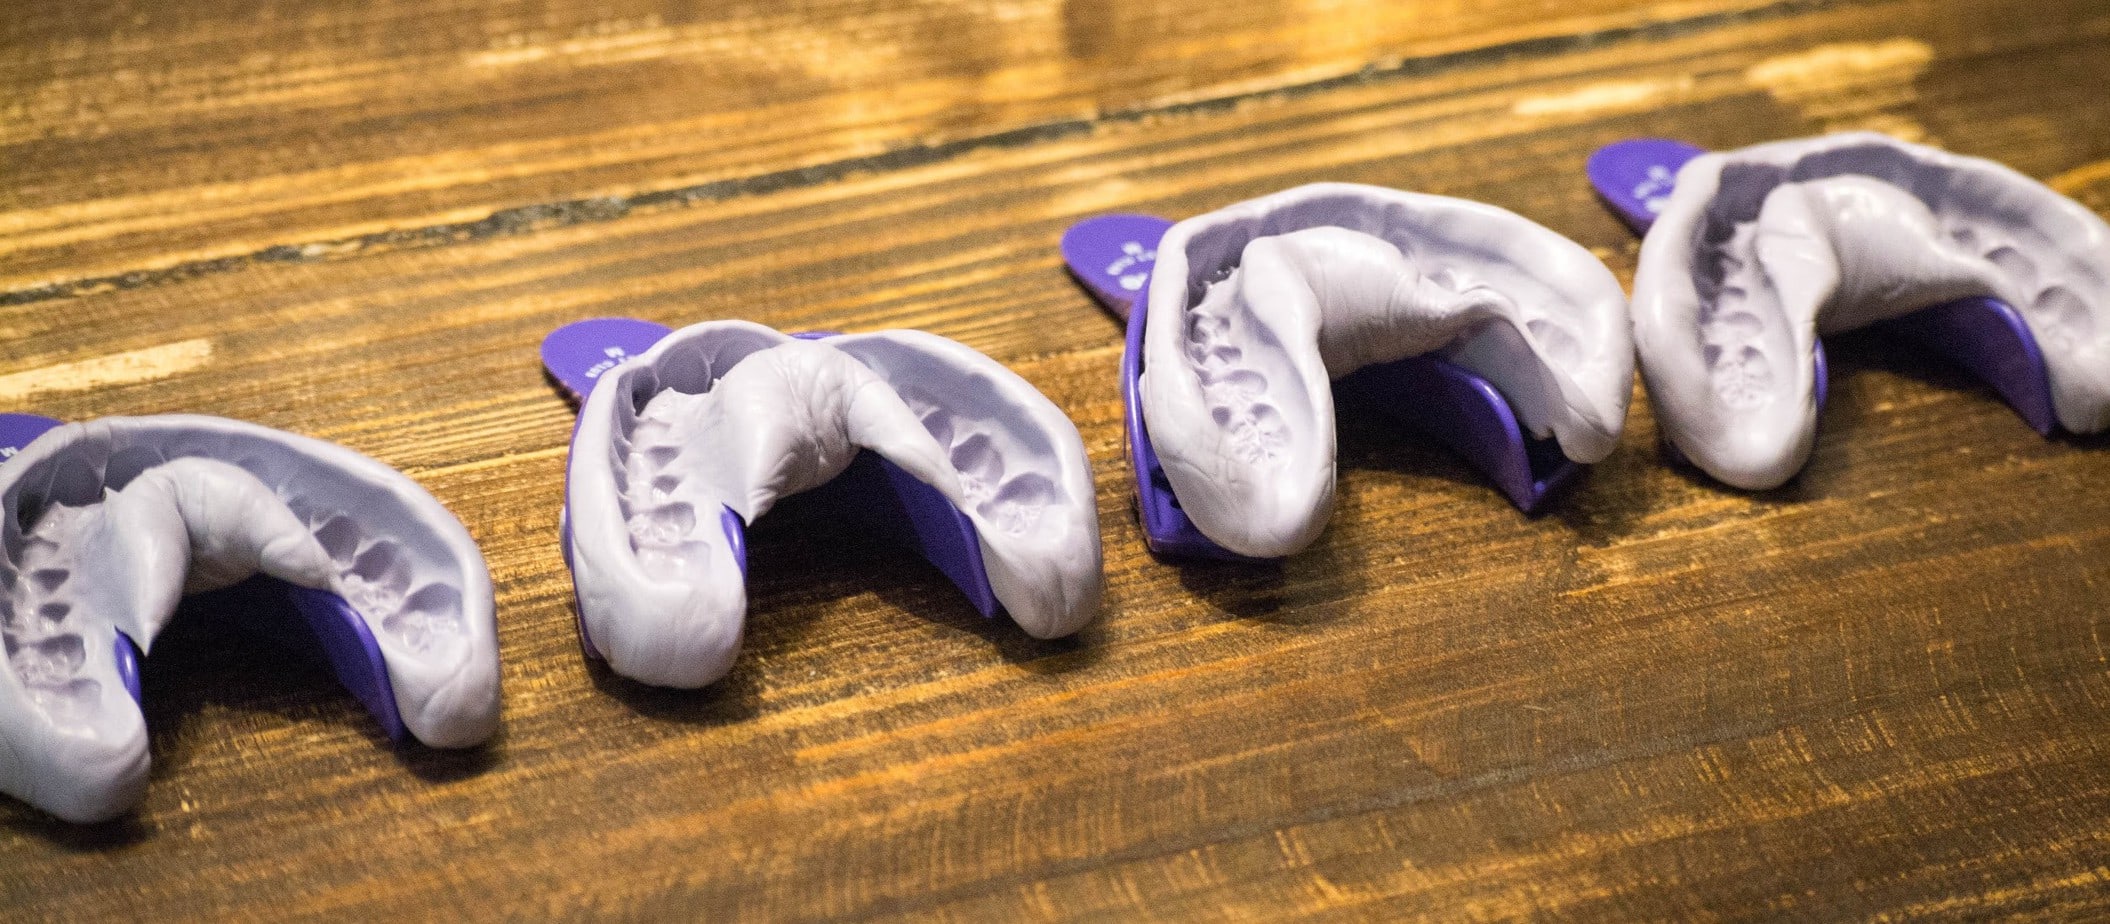
When you’re all finished, you’ll have four impressions: two top and two bottom. And you’re ready for the next step!
What if I Mess Up My Impressions?
We won’t lie: taking impressions can be slightly difficult. This is why SmileDirectClub gives you multiple attempts at it. Still, it might take a few tries to get it right.
When you pull that putty out of your mouth and it looks wrong, it can be discouraging, but don’t panic! SmileDirect has you covered if you mess up your impressions. If you’re not sure whether your impressions will work, send them anyway. SmileDirectClub’s dental team will let you know if you need to take another shot at it before sending another kit. And if you’re certain that you botched them, give customer support a call or email. You’ll need to order a replacement kit, but SmileDirectClub will refund the cost when you purchase your aligners.
And if you’re simply not confident taking impressions on your own, there’s no shame in going to a SmileShop (if there’s one nearby). It makes the process much easier, so many customers prefer it!
3D Teeth Scanning: A Convenient Alternative to Impression Kits
Even with the assistance of guides like this one, impression kits can be tricky if you’ve never used one before. If the prospect of administering your own teeth impressions is intimidating, SmileDirectClub has an alternative. They’ve opened over 100 retail locations (called ”SmileShops”) nationwide.
At these locations, you can get a free teeth scan that takes the place of an Impression Kit. Then, the SmileShop staff will send your scans directly to SmileDirect, eliminating the mailing delay. If you’re uncomfortable taking teeth impressions on your own, check to see if there’s a SmileShop near you. Not only is the process easier, but it’s also faster and more convenient.
If you’d rather start the process in a dentist’s office, that’s an option too. SmileDirectClub has a partner network that includes more than 1,000 dentists who can scan your teeth as well.
Step 5: Review Your Treatment Preview
Congratulations! You finished your Impression Kit, and SmileDirectClub makes it easy to return your impressions. Just place the completed trays in the included prepaid box and send it off. Don’t put the trays in plastic bags. You can simply put them directly into the box.
Once SmileDirect receives it and determines that the impressions are acceptable, their dental professionals will use them to determine if you’re a good candidate for treatment.
Not everyone is an ideal candidate for home aligner treatment. For example, SmileDirect’s treatment might not be able to correct certain bite issues (like overbite or underbite) or severe cases of crowding or spacing. Your photos and impressions will provide enough information for orthodontists to determine whether SmileDirectClub can treat your condition. If you don’t end up being a good candidate, SmileDirect will issue a refund for the cost of your Impression Kit.
But if you’re deemed suitable for treatment, a state-licensed dentist will create your full treatment plan and send you a preview, called a “Smile Plan.” This preview shows a digital “before and after” of your treatment, allowing you to see how SmileDirect’s aligners will move your teeth every step of the way.
SmileDirectClub promises that you will receive your Smile Plan no more than 72 hours after they receive and approve your impressions.
Before Moving Forward: Is SmileDirectClub Right For You?
At this point, you’re at a crossroads. You can either choose to continue with treatment or not. There’s no obligation to continue, so you can back out with no consequences (although you won’t get a refund for your Impression Kit).
If you decide to move forward with treatment, SmileDirect will manufacture your aligners and ship the complete set to your home. This process typically takes another 4–6 weeks. Once you get your aligners, the company claims that your treatment will take around 4–6 months, depending on the specifics of your case.
That said, if you’re still not 100% sure about SmileDirectClub, this is also a good time to compare your other options. Our #1-recommended home teeth straightening system is Byte, which offers personalized customer support, puts a lifetime guarantee on your smile, and claims an average treatment plan length of just 4–5 months.
We also know that taking the plunge into home aligner treatment can be intimidating, and sometimes, the best way to evaluate your options is to see how they’ve worked for other people. Check out our SmileDirectClub and Byte customer review pages for feedback from real customers about their treatment and results.
Final Thoughts
If you’ve followed all the instructions listed here, then you’ve taken your first step toward your new smile. Even though impression kits can sometimes be difficult, when you consider the fast treatment times, lower prices, and time you’ll save with SmileDirectClub’s treatment, this minor inconvenience is well worth it.
With the help of this guide, you’ll have the information and confidence you need to take amazing impressions right off the bat. Then, you can look forward to the rest of the journey toward a dazzling transformed smile.
Join The Discussion: